
How can shielding and termination reduce LCD signal noise and data corruption?
 2026-06-04
  13:12
13:12 

LCD signal noise and data corruption, often seen as screen flicker or glitches, are typically caused by electromagnetic interference (EMI) or improper signal integrity. The primary engineering solutions involve implementing proper cable shielding to block external noise and using signal termination techniques to prevent signal reflections that corrupt data at the display driver.
What is LCD signal noise and what causes it?
LCD signal noise refers to unwanted electrical disturbances that interfere with the clean digital signals controlling a display. This interference manifests as visual artifacts like flickering pixels, static lines, or temporary image corruption. It is primarily caused by electromagnetic interference from nearby components, crosstalk between parallel data lines, or ground loops within the system.
LCD signal noise is fundamentally an electromagnetic compatibility issue. High-speed digital signals, like those in LVDS or MIPI interfaces, are particularly susceptible. When a signal trace acts as an antenna, it can pick up radiated noise from switching power supplies, motors, or wireless modules. Conversely, the trace itself can radiate noise. This problem is exacerbated by long, unshielded flex cables or ribbon cables running near noisy components. A common real-world example is a medical monitor displaying erratic lines when a nearby ultrasound machine is activated. The key question then becomes, how can you differentiate between noise from external sources and noise generated internally by poor board layout? Another consideration is whether the noise is consistent or intermittent, which points to different root causes. Therefore, diagnosing the source requires a methodical approach, starting with the physical environment and moving to the circuit design. Using an oscilloscope to probe the signal lines is the definitive way to visualize the noise superimposed on the digital waveform.
How does improper termination lead to display data corruption?
Improper termination, or its complete absence, leads to signal reflections on transmission lines. These reflections cause ringing and overshoot at the receiver, which can push voltage levels into ambiguous regions. This results in the display controller misinterpreting logic highs and lows, corrupting the pixel data and causing glitches, ghosting, or a completely scrambled image.
In high-speed digital signaling, a PCB trace or cable is not just a wire but a transmission line with characteristic impedance. When the impedance of the driver, trace, and receiver are not matched, a portion of the signal energy reflects back at each discontinuity. These reflections bounce back and forth, creating standing waves that distort the original signal shape. For a parallel RGB interface with many data lines running in parallel, mismatched termination can cause skew, where some bits arrive later than others, corrupting the entire data word. Think of it like shouting in a long hallway; if the end isn’t properly absorbed, the echo comes back and muddles your next shout. So, what happens when a100-ohm differential pair meets a connector with a120-ohm impedance? The resulting reflection can be significant enough to cause a bit error. Consequently, termination isn’t just an optional best practice but a requirement for signal integrity. The standard practice is to place termination resistors as close as possible to the receiver input pins, with values chosen to match the line’s characteristic impedance, often between90 and120 ohms for differential pairs.
Which shielding techniques are most effective for display cables?
Effective shielding for display cables involves creating a continuous conductive barrier around the signal conductors. The most common and effective method is using a foil or braided shield combined with a drain wire, all properly grounded at one end. For extreme noise environments, double shielding with both a foil layer and a braided outer layer provides superior protection against both electric and magnetic fields.
Selecting the right shielding technique depends on the type of interference. A foil shield, typically aluminum laminated to a polyester film, offers100% coverage against high-frequency electric fields. However, it’s mechanically frail. A braided shield, made from woven tinned copper, provides good flexibility and strength while shielding against lower-frequency magnetic fields, though its coverage is typically around70-95%. For critical applications like industrial HMIs in factory settings, a combination foil-and-braid shield is often specified. The crucial step is grounding the shield correctly; a “pigtail” connection creates a high-impedance path that renders the shield ineffective at high frequencies. Instead, a360-degree clamp or connector backshell provides a low-impedance ground path. But how do you decide between grounding at the source or the load? In most display systems, grounding the shield at the driver end prevents noise currents from flowing along the shield. Furthermore, using shielded connectors like D-sub or HDMI with metal shells ensures the shielding envelope is complete from PCB to PCB, leaving no gap for noise ingress.
What are the key differences between single-ended and differential signaling for noise immunity?
Single-ended signaling uses one wire per signal, referenced to a common ground. It is simple but susceptible to ground shifts and EMI. Differential signaling uses a pair of wires carrying opposite-phase signals. The receiver detects the voltage difference between them, inherently rejecting common-mode noise that affects both wires equally, offering far superior noise immunity in electrically noisy environments.
| Characteristic | Single-Ended (e.g., TTL, CMOS) | Differential (e.g., LVDS, RS-485) |
|---|---|---|
| Noise Immunity | Low; susceptible to ground bounce and EMI as noise couples directly into the single signal path. | Very High; common-mode noise affects both lines equally and is subtracted out by the receiver. |
| Cable Length & Speed | Limited to short distances (typically <0.5m) at high speeds due to susceptibility and EMI radiation. | Supports long cables (meters) at high data rates due to low EMI emission and high noise rejection. |
| Power Consumption | Generally lower, as it switches between a voltage and ground with high current spikes during transitions. | Higher static current but constant low-current swing reduces overall EMI and ground noise. |
| Complexity & Cost | Low; requires fewer PCB traces and simpler transmitter/receiver ICs. | Higher; requires paired traces with controlled impedance, dedicated serializer/deserializer chips. |
| Typical Display Use | Used for low-resolution, short-distance internal connections or control signals (SPI, I2C). | Standard for high-resolution, long-distance, or noisy environment video interfaces (LVDS in laptops, automotive displays). |
How can I diagnose the root cause of a glitchy screen in my design?
Diagnosing a glitchy screen requires a systematic approach. Start by isolating the display module in a known-good, low-noise environment. If the problem persists, the issue is likely internal, such as poor termination or power supply ripple. If it clears, external EMI is the culprit. Use an oscilloscope to check signal integrity at the display connector for ringing, overshoot, and noise on the data lines.
A practical diagnostic flowchart begins with the simplest checks. Verify all power supply rails to the display with a scope, looking for excessive ripple or noise that could modulate the backlight or bias the driver IC. Next, inspect the physical connection and cable routing; a cable running parallel to a power inductor is a classic culprit. If hardware changes are possible, try inserting ferrite clamps on the cables or temporarily applying copper tape as a shield. For internal signal issues, probing the clock line is most revealing, as clock corruption guarantees image corruption. Ask yourself, does the glitching correlate with a specific system event, like a motor starting? Or does it appear with specific color patterns, indicating crosstalk or insufficient drive current? Moving forward, a comparison between a known-good waveform and the faulty one will highlight abnormalities like reduced amplitude or excessive jitter. Sometimes, the fix is as straightforward as adding series damping resistors or adjusting trace lengths to minimize skew.
What practical steps and components are needed to implement proper termination?
Implementing proper termination requires identifying the interface type and its characteristic impedance. For parallel RGB, series termination at the source with a22-ohm to33-ohm resistor is common. For LVDS, differential termination with a100-ohm resistor across the pair at the receiver is standard. Key components include surface-mount resistors placed close to the receiver ICs, and for longer lines, consideration of passive or active termination networks.
| Interface Type | Termination Scheme | Typical Component Values & Placement | Key Consideration & Purpose |
|---|---|---|---|
| Parallel RGB/TTL | Series Termination | 22Ω to33Ω resistor in series with each data/clock line, placed at the driver output. | Damps ringing by matching driver output impedance to line impedance; does not eliminate reflections at the far end. |
| LVDS | Parallel Differential Termination | 100Ω resistor (±1%) placed across the P and N lines of each pair, directly at the receiver inputs. | Matches differential impedance of cable/trace to prevent reflections; critical for signal integrity. |
| MIPI D-PHY | High-Speed (HS) Mode Termination | Integrated on-chip termination (typically100Ω diff) enabled by the PHY during HS transmission. | Controller manages termination automatically; board design must ensure clean power and impedance-controlled lanes. |
| Long Cable Runs (e.g., VGA) | DC Biasing & AC Termination | 75Ω resistors to ground on RGB lines at the receiver, plus capacitors for AC coupling. | Provides impedance matching for the analog video signal and sets correct DC bias level for the amplifier. |
Expert Views
In my experience with display integration, especially in electromagnetically harsh environments like automotive or industrial control, signal integrity is non-negotiable. The most common oversight is treating display interconnects as an afterthought. A well-designed PCB can be undone by a poorly specified cable. The interplay between source termination, cable shielding, and load termination must be modeled as a complete channel. Proactive measures, like simulating signal integrity with IBIS models early in the layout phase, save countless hours of debugging glitchy screens later. Always remember that a display is often the system’s most sensitive analog critic of your digital design’s health.
Why Choose CDTech
CDTech’s extensive experience in custom display solutions provides a distinct advantage when tackling signal integrity challenges. With over a decade of designing and integrating TFT LCDs for diverse applications, their engineering team has encountered and resolved countless real-world noise and termination scenarios. This practical knowledge informs their product design, from the layout of their display driver boards to the specification of connectors and recommended cabling. When you work with CDTech, you’re not just buying a component; you’re accessing a depth of application-specific expertise that can help preempt common integration pitfalls. Their focus on customization means they can often incorporate robust termination or shielding requirements directly into the display module, simplifying your system design. This proactive approach, grounded in a stable quality management system, translates to more reliable end products and fewer last-minute engineering crises.
How to Start
Begin by clearly documenting your application’s operating environment and noise sources. Next, map your signal chain from graphics controller to display glass, noting cable types, lengths, and proximity to potential interferers. Review the display module’s datasheet for its specific interface requirements and termination recommendations. Then, conduct a bench test with a controlled signal source to establish a noise baseline. If glitches appear, systematically isolate sections of the signal path, using shielding and termination as diagnostic tools. Finally, consult with your display provider’s engineering support early in the design cycle to validate your interface strategy; companies like CDTech can offer valuable guidance based on similar past projects.
FAQs
Can I use both shielding and termination on the same cable?
Absolutely, and for robust designs, you often should. Shielding protects against external electromagnetic interference, while termination prevents internal signal reflections. They address two different physical phenomena and work synergistically. A shielded cable with improper termination will still suffer from reflections, and a well-terminated cable without shielding can still pick up disruptive noise in a hostile environment.
My display works fine on the bench but glitches in the final product. Why?
This classic symptom points to external electromagnetic interference in the final application environment. On the bench, the system is isolated from motors, power converters, or wireless transmitters present in the end-use casing. The noise is coupling into your display cables or power lines. The solution involves improving shielding, filtering power inputs to the display, and potentially rerouting cables away from noise sources.
How do I know what value termination resistor to use?
The value is determined by the characteristic impedance of your transmission line, which is a function of trace geometry and PCB material. For standard LVDS,100 ohms differential is almost universal. For parallel lines, values between22 and50 ohms are common. Always consult the driver IC’s datasheet for recommended values and verify by measuring signal quality with an oscilloscope.
Are ferrite beads useful for fixing LCD noise?
Ferrite beads can be useful for suppressing high-frequency common-mode noise on cables. They act as resistors at high frequencies, damping noise currents. However, they are not a substitute for proper shielding or termination for signal integrity issues. They are best used as a supplementary filter, often clamped around a cable near the connector, to tackle specific EMI emission or susceptibility problems.
Successfully troubleshooting LCD interface noise hinges on a methodical understanding of electromagnetic theory and practical signal integrity principles. The key takeaways are to always consider the complete signal path as a transmission line, implement matched termination as a rule, and never underestimate the value of proper cable shielding in real-world environments. Actionable advice includes investing in a good oscilloscope for diagnosis, prototyping interface connections early, and leveraging the application expertise of your display supplier. By addressing these electrical fundamentals proactively, you can eliminate glitchy screens and ensure a stable, clear display that meets the demands of even the most challenging applications.
Post Search
Related Articles
-
Capacitive vs Resistive Touch Screen Car Stereo: Which Is Right for You?
-
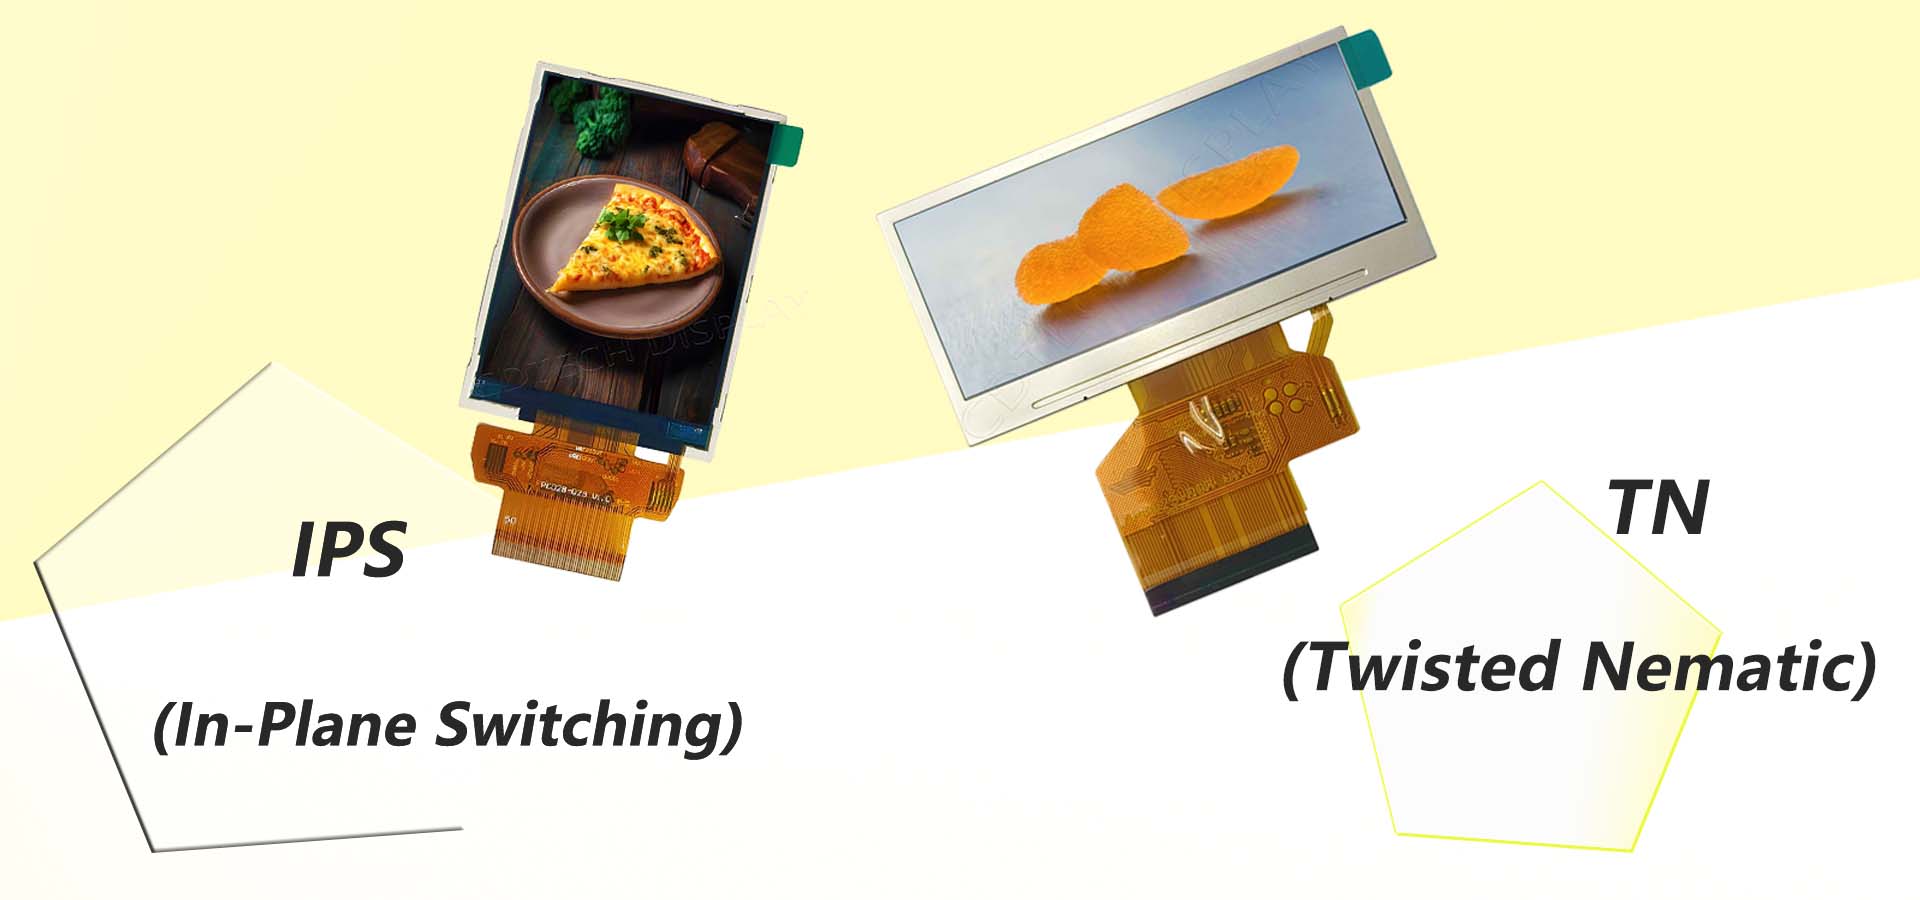
TN LCD vs IPS LCD: How to Choose the Right Display for You
-
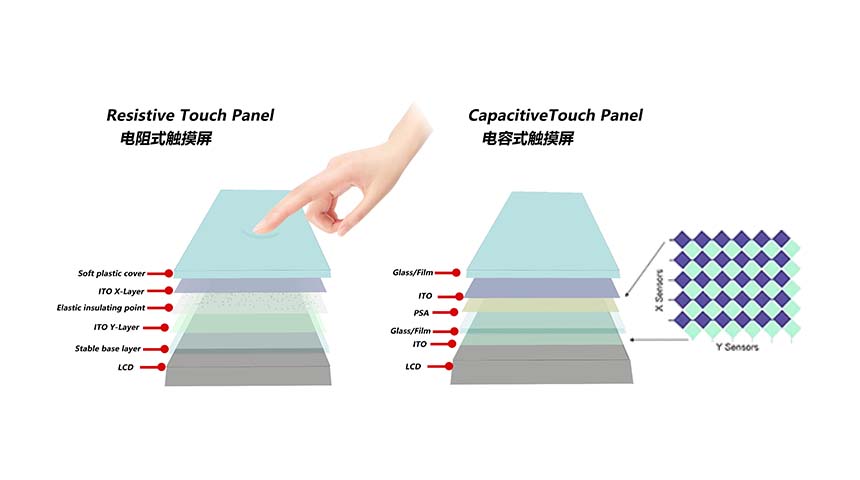
Capacitive Touch Panel or Resistive: Which Suits Your Needs?
-
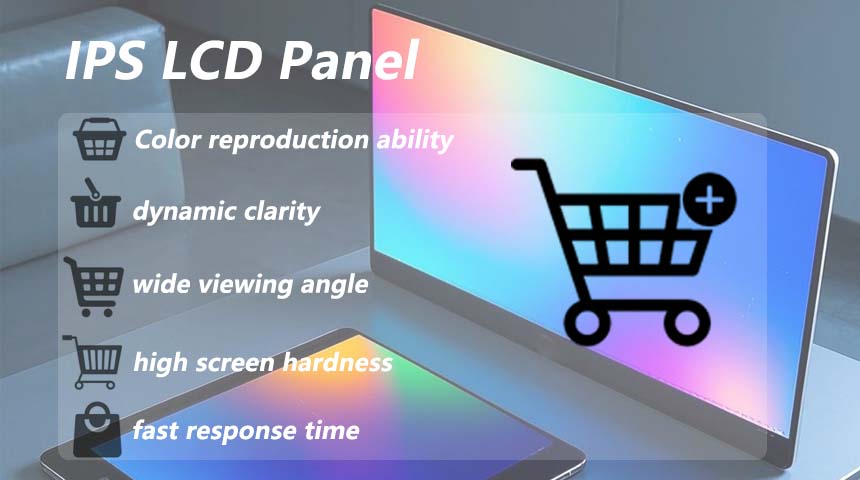
Why Choose an IPS LCD Panel for Your Next Screen Purchase?
-
CDTECH to Showcase Cutting-Edge Display Solutions at SID 2025
-
Comparing Different Types of Displays in Cars: A Detailed Overview
-

White Spots on LCD Screen: Causes, Fixes & Industrial Solutions (2026 Guide)