How to Interface Raspberry Pi and Arduino with Industrial TFT LCD Displays for Rapid Prototyping?
 2026-03-25
  19:50
19:50 

Interfacing Raspberry Pi and Arduino with industrial-grade TFT LCD displays requires selecting compatible communication protocols like SPI, RGB, and HDMI, connecting GPIO pins correctly, and installing drivers. This guide provides step-by-step wiring, code examples, and scaling tips using rugged displays from CDTech for HMI prototypes.
Check: Standard lcd
What Are the Key Communication Protocols for Connecting Raspberry Pi to Industrial TFT Displays?
SPI, RGB parallel, HDMI, and I2C are essential protocols for Raspberry Pi to industrial TFT LCDs. SPI suits small displays with low pin counts, RGB parallel offers high bandwidth for mid-sized panels, HDMI enables plug-and-play, and I2C handles touch. Select based on speed needs, pin availability, and harsh environment durability.
| Protocol | Data Rate | Pin Count | Industrial Suitability | Use Cases |
|---|---|---|---|---|
| SPI | 10 MHz | 4-6 | High (embedded IoT) | 1.5-3.5″ industrial LCDs like S015HQ01EN-2 |
| RGB Parallel | 20-30 MHz | 24 | Medium (HMI) | 5.0″ panels like S050HWV18ES-DC95 |
| HDMI | High | 1 | High (prototyping) | 7-12.1″ modules like S070SWV122ED-DC35 |
| I2C (Touch) | 400 kHz | 2 | High | Capacitive touch on S101ZWX89FP-FC86 |
For Raspberry Pi, enable SPI via raspi-config for displays like the 1.5″ S015HQ01EN-2 with RGB interface at 1000 nits, ideal for sunlight-readable industrial prototypes. HDMI driver boards simplify integration for 10.1″ IPS panels.
How Do You Wire and Configure Arduino LCD Interfaces for Industrial Applications?
Wire Arduino to industrial TFT LCDs by connecting VCC/GND, CS/MOSI/MISO/CLK for SPI, or D0-D7 for RGB parallel. Use shielding and proper grounding for EMI resistance in factories. Configure with libraries like Adafruit_ILI9341 for quick setup on SPI panels.
// Arduino SPI TFT LCD Example for Industrial 2.4" S024HQ58EN-1
#include <Adafruit_ILI9341.h>
#include <SPI.h>
#define TFT_CS   10
#define TFT_DC   9
#define TFT_RST  8
Adafruit_ILI9341 tft = Adafruit_ILI9341(TFT_CS, TFT_DC, TFT_RST);
void setup() {
  tft.begin();
  tft.setRotation(1);
  tft.fillScreen(ILI9341_BLACK);
  tft.setTextColor(ILI9341_WHITE);
  tft.setTextSize(2);
  tft.println("Industrial HMI Ready");
}
void loop() {}
For CDTech’s 2.4″ S024HQ58EN-1 IPS LCD (240×320, 800 nits, RGB), connect SPI pins to Arduino Uno GPIO. Test in -20°C to +70°C conditions for rugged HMI like smart appliances.
What Are the Best Raspberry Pi TFT Display Setup Steps for HMI Prototyping?
Enable SPI/HDMI in raspi-config, install fbtft drivers, and use device tree overlays. Boot Raspberry Pi, run modprobe fbtft_device, then launch displays via framebuffer /dev/fb1. Use Python with Pygame for dashboards on high-brightness panels.
# Raspberry Pi Setup for 7.0" HDMI LCD S070SWV122ED-DC35
sudo raspi-config  # Enable SPI/HDMI
sudo apt install fbtft
echo 'dtoverlay=spi0-hw-cs' | sudo tee -a /boot/config.txt
sudo reboot
# Python Pygame Example
import pygame
pygame.init()
screen = pygame.display.set_mode((800, 480))
screen.fill((0, 255, 0))  # Green for industrial status
pygame.display.flip()
CDTech’s 7.0″ S070SWV122ED-DC35 HDMI LCD with CTP (800×480) plugs directly into Raspberry Pi for rapid HMI prototyping in automation panels.
Which Industrial TFT LCD Features Matter Most for Dev Board Integration?
Key features include 300-1500 nits brightness for harsh lighting, -20°C to +70°C operation for durability, capacitive touch with I2C, and EMI resistance. CDTech offers 391+ SKUs, including custom sizes via patented 2nd Cutting for non-standard prototypes.
| Feature | Standard LCD | Industrial (CDTech) | Benefit for Pi/Arduino |
|---|---|---|---|
| Brightness | 250 nits | 1000 nits (S015HQ01EN-2) | Sunlight-readable HMI |
| Temp Range | 0-50°C | -20~+70°C | Factory/Outdoor use |
| Touch | None | CTP OCA (S050HWV18ES-DC95) | Interactive prototypes |
| Custom Size | No | Yes (2nd Cutting) | Bar-type dashboards |
Choose CDTech’s 5.0″ S050HWV18ES-DC95 (1000 nits, air bonded CTP) for Raspberry Pi prototypes needing wide temp and high brightness.
How Does Custom LCD Sizing Accelerate Prototype-to-Production Scaling?
CDTech’s patented 2nd Cutting technology (2017) cuts standard LCD glass into unique sizes like 2.9″ bar-type without molds, cutting costs 30-40% and lead times. Scale from Raspberry Pi prototypes to IATF16949 production via full in-house chain.
For example, integrate the 2.9″ S029HQ05NS bar IPS LCD (320×120, SPI+RGB, 300 nits) with Arduino for dashboard prototypes, then customize via 2nd Cutting for automotive HMI.
CDTech Expert Views
“Our patented 2nd Cutting enables engineers to prototype with non-standard sizes like 3.9″ bar-type S039HWQ12HS (480×128, 500 nits) on Raspberry Pi, then seamlessly scale to production. With 10,000㎡ factory, 3,500㎡ Class 1000 clean rooms, ISO9001/IATF16949/ISO14001/ISO13485 certifications, and $30M+ 2023 sales to 1,000+ customers, we ensure traceability via ERP/QR systems from DIY to mass deployment.” – CDTech Engineering Team
What Troubleshooting Steps Resolve Common Raspberry Pi–LCD and Arduino–LCD Integration Issues?
Fix SPI errors by matching clock speed (8-10 MHz) and CS polarity. Resolve init failures with correct GPIO assignments and driver versions. Optimize frame rates by reducing color depth. Use checklist: verify wiring, update libraries, test backlight.
Check: High-tech tft lcd, touch & hdmi display manufacturer
- Black screen: Check VCC (3.3V), enable interface in config.
- Touch fail: Confirm I2C address for CTP like S035HQ55NS-DL44.
- Glitches: Add pull-ups, shield cables for EMI.
- Overheat: Select wide-temp LCDs like S019BQ01HN (-20~+70°C).
For Arduino with S024HQ51EN (800 nits TN), update Adafruit library to v1.5+.
How Can You Transition from DIY Prototypes to Production-Grade Industrial HMI Systems?
Leverage CDTech’s vertical integration: consult for custom LCDs, prototype with HDMI boards like 12.3″ S123BWU11EP-FC19-AF-HDMI09-A (1920×720, 900 nits), then produce with certifications. 1,000+ customers prove scalability for automotive/medical.
Contact CDTech at sales@cdtech-lcd.com for transparent MOQ/NRE on 2nd Cutting customs.
Conclusion
Interfacing Raspberry Pi and Arduino with industrial TFT LCDs streamlines HMI prototyping via SPI/RGB/HDMI. CDTech’s rugged displays (1000+ nits, wide temp, OCA touch) and 2nd Cutting tech enable custom scaling without redesigns. Partner for certified production serving automotive, industrial, and medical sectors reliably.
FAQs
Can I use a standard consumer TFT display with Arduino or Raspberry Pi?
Possible but not recommended. Consumer displays lack wide temperature ranges (-20~+70°C) and EMI shielding. CDTech’s industrial LCDs like S015HQ01EN-2 offer durability for production scaling.
Which interface (SPI vs. RGB parallel) is faster for Raspberry Pi TFT displays?
RGB parallel is faster (20-30 MHz vs. 10 MHz SPI) with higher bandwidth. Use SPI for fewer pins on small panels like 1.9″ S019BQ01HN; RGB for 5.0″ S050HWV18ES-DC95.
How do I ensure my Arduino–LCD setup works in harsh industrial environments?
Select LCDs with ≥500 nits, -20~+70°C range, and EMI resistance. CDTech’s IATF16949/ISO13485 certified panels like S024HQ58EN-1 meet automotive/medical standards.
What is 2nd Cutting technology, and how does it help prototyping?
CDTech’s 2017 patented process cuts LCD cells into custom sizes (e.g., 2.9″ S029HQ05NS bar-type) without molds, reducing costs 30-40% and lead times for Pi/Arduino HMI prototypes.
Can I scale a Raspberry Pi prototype to an automotive or medical production system?
Yes. CDTech transitions via 2nd Cutting customs to certified modules (IATF16949 automotive, ISO13485 medical), with ERP traceability and 1,000+ case studies.
Post Search
Related Articles
-
Capacitive vs Resistive Touch Screen Car Stereo: Which Is Right for You?
-
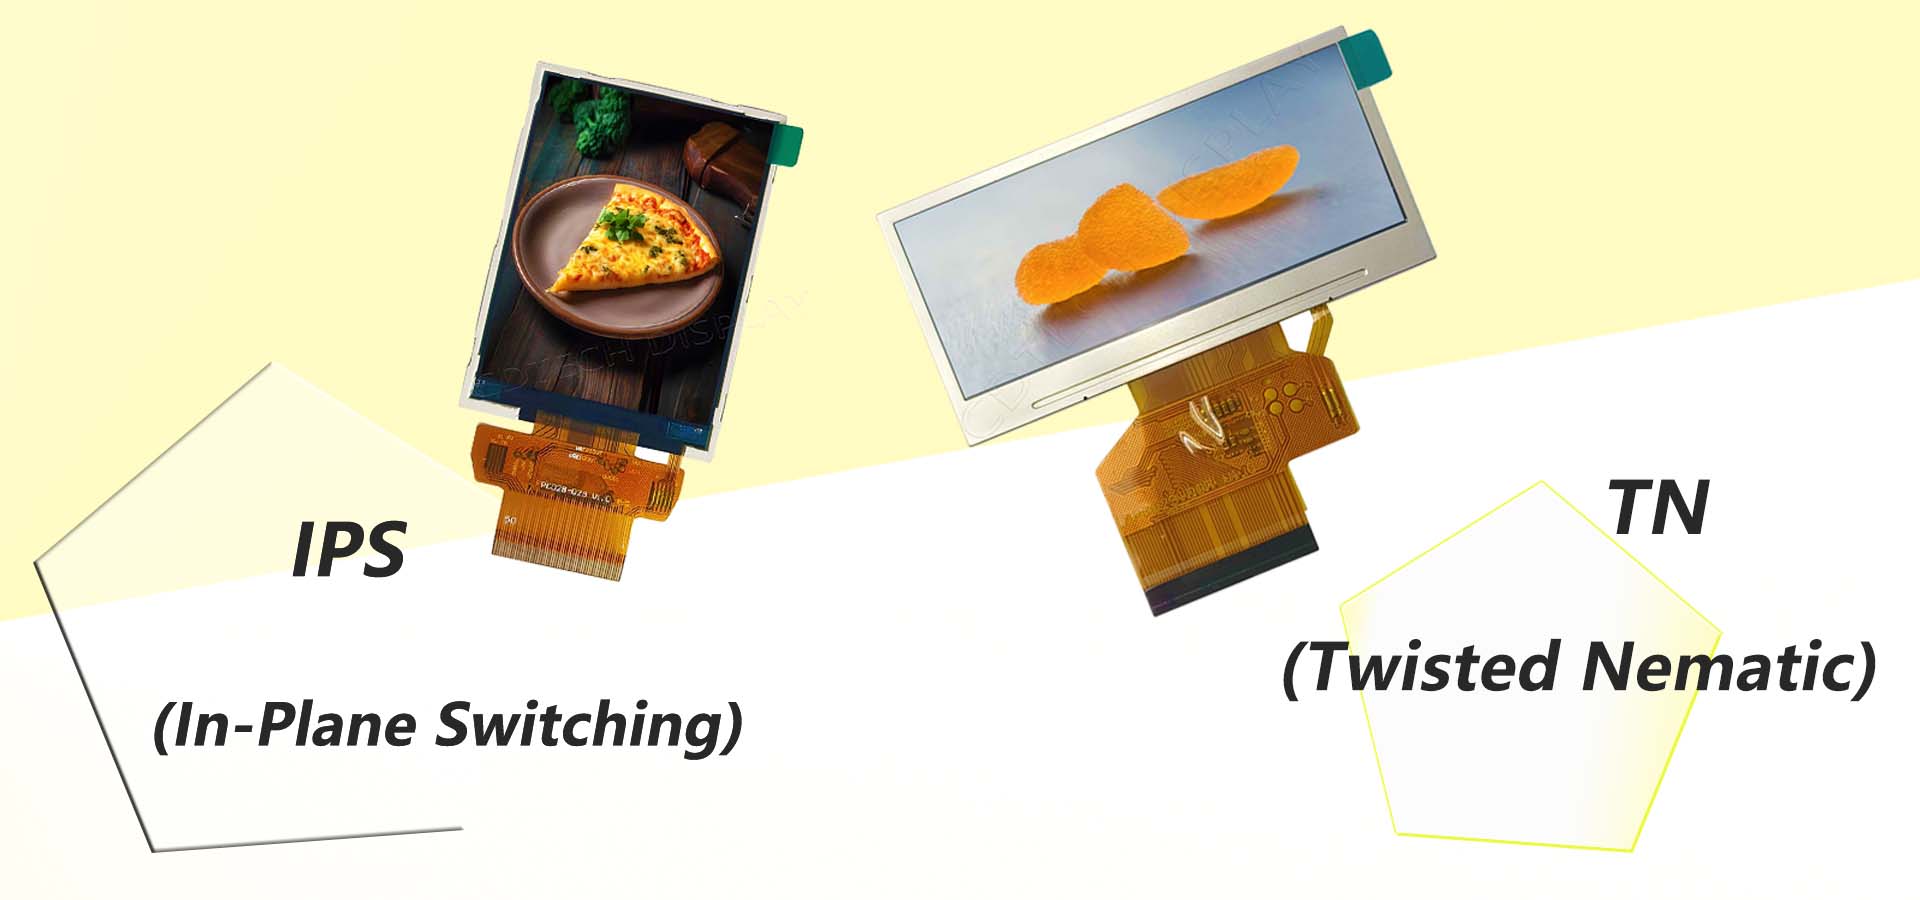
TN LCD vs IPS LCD: How to Choose the Right Display for You
-
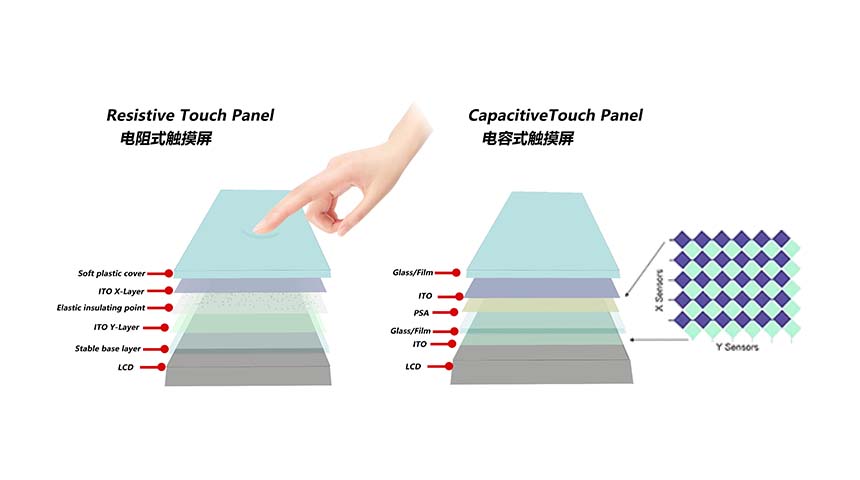
Capacitive Touch Panel or Resistive: Which Suits Your Needs?
-
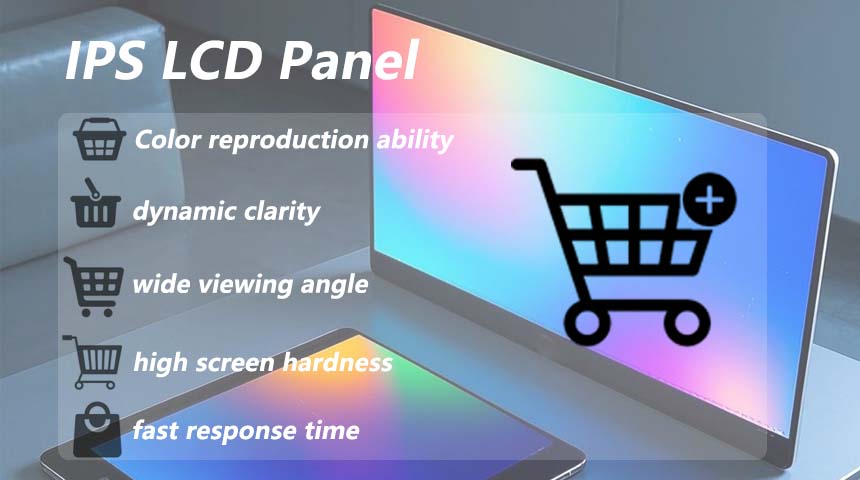
Why Choose an IPS LCD Panel for Your Next Screen Purchase?
-
CDTECH to Showcase Cutting-Edge Display Solutions at SID 2025
-
Comparing Different Types of Displays in Cars: A Detailed Overview