
How can I adjust the backlight brightness using the kit’s built-in potentiometers?
 2026-05-18
  22:59
22:59 

Adjusting LCD backlight brightness via a potentiometer involves creating a simple voltage divider circuit. This manual method provides direct, analog control over the LED driver’s current, allowing for on-the-fly tuning of display intensity to suit ambient lighting conditions or specific user preferences without complex digital interfaces.
How does a potentiometer control LCD backlight brightness?
Potentiometers control brightness by varying the resistance in a circuit connected to the backlight LED driver. Turning the knob changes the voltage at a control pin, which the driver IC interprets as a command to adjust the current flowing through the LEDs. This analog method offers smooth, continuous dimming from minimum to maximum intensity.
The process begins with the potentiometer itself, a three-terminal variable resistor. In a typical setup, the outer terminals connect to a voltage reference and ground, while the center wiper terminal provides a variable output voltage. This output is fed into the brightness control pin, often labeled ADJ, DIM, or EN, on the LED driver chip. The driver, which could be a simple linear regulator or a more complex switching converter, then modulates the current supplied to the LED backlight array. For instance, a common10K ohm linear pot connected between3.3V and ground can provide a smooth0-3.3V control signal. The driver IC’s internal circuitry translates this voltage into a corresponding pulse-width modulation (PWM) duty cycle or a direct current limit. Think of it like a dimmer switch for a room light, but instead of cutting power phases, it sends a precise analog signal to a smart controller. Isn’t it fascinating how a simple twist can orchestrate such a precise electronic dance? What are the key considerations when selecting the right potentiometer value for your specific driver IC? Furthermore, ensuring a stable voltage supply to the pot is crucial, as any noise or fluctuation will directly translate into visible flicker on the display. In many evaluation board designs, this circuit is pre-populated, allowing engineers to test optimal brightness levels before finalizing their firmware-based dimming algorithms. Consequently, this hands-on approach provides invaluable intuition about power consumption and user experience that datasheets alone cannot offer.
What are the key components in a manual backlight dimming circuit?
The essential components include the potentiometer, the LED backlight driver IC, current-setting resistors, and the power supply. Supporting elements often include filter capacitors to stabilize the control voltage and protection diodes. The specific driver IC dictates the circuit topology, whether it uses a linear control voltage or a PWM input for dimming.
At the heart of the system lies the LED driver integrated circuit, which is responsible for providing a constant current to the LED string regardless of forward voltage variations. The potentiometer acts as the user interface, generating the control signal. The value of this pot, say10kΩ or50kΩ, must be chosen to match the input impedance and voltage range of the driver’s dimming pin. Current-setting resistors, typically placed at the ISET or RSET pin of the driver, determine the maximum current and thus the peak brightness of the display. A stable, low-noise power rail, perhaps5V or12V, is fundamental; ripple here can cause noticeable brightness modulation. Decoupling capacitors, often a combination of a10µF electrolytic and a0.1µF ceramic, are placed near the driver’s VCC pin to filter high-frequency noise. For a practical example, consider a common setup using a CAT4238 boost driver where a100kΩ pot on the CTRL pin provides a0.25V to2.5V dimming range. How do you ensure the circuit remains reliable over thousands of adjustment cycles? Additionally, some designs incorporate a fixed resistor in series with the pot to establish a safe minimum brightness, preventing the display from being turned off completely accidentally. Therefore, each component plays a synergistic role, transforming a mechanical adjustment into a consistent, flicker-free light output. This component-level understanding is what separates a functional prototype from a robust, production-ready design.
Which types of potentiometers are best suited for backlight adjustment?
For backlight adjustment, rotary potentiometers with a linear taper (B-taper) are typically preferred for their predictable voltage response. Panel-mount versions offer easy user access, while trimmer potentiometers are used for factory calibration. Key selection criteria include resistance value, power rating, mechanical lifespan, and physical size to fit the product enclosure.
Selecting the right potentiometer involves balancing electrical and mechanical requirements. Linear taper pots are ideal because the resistance changes uniformly with shaft rotation, providing a smooth and intuitive brightness curve that feels natural to the user. In contrast, audio taper (logarithmic) pots would make fine adjustments at the low-brightness end very difficult. The resistance value, such as10kΩ, must create a suitable voltage divider for the driver’s control input without drawing excessive current from the reference voltage source. A higher resistance like100kΩ draws less current but may be more susceptible to electrical noise. The power rating is usually not critical for signal-level dimming circuits, but the mechanical endurance is paramount; a pot rated for10,000 cycles is a minimum for a user-accessible control. For instance, a compact9mm panel-mount rotary pot from a reputable supplier offers a good blend of durability and space efficiency for embedded devices. Would a sealed potentiometer be necessary for products used in dusty or humid environments? Moreover, multi-turn trimpots provide excellent precision for initial factory setup but are not intended for frequent end-user adjustment. Ultimately, the choice impacts the tactile feel and long-term reliability of the product, making it a critical design decision beyond mere electrical specs.
| Potentiometer Type | Best Application Scenario | Key Advantages | Typical Resistance Range | Considerations for LCD Use |
|---|---|---|---|---|
| Rotary Panel Mount (Linear Taper) | End-user brightness control on finished products | Easy user access, intuitive operation, variety of knob styles | 1kΩ to1MΩ | Ensure shaft length and diameter match panel thickness; consider dust seals. |
| Trimmer Potentiometer (Multi-turn) | Factory calibration or initial brightness setting during assembly | High precision for setting exact voltage, small PCB footprint | 100Ω to1MΩ | Not for frequent adjustment; often requires a screwdriver, adding to service time. |
| Slide Potentiometer | Consumer audio/video equipment with a specific aesthetic | Linear visual feedback of position, modern look | 10kΩ to100kΩ | More prone to dust ingress; mechanical travel may be longer than rotary types. |
| Digital Potentiometer (IC) | Microcontroller-based dimming with memory presets | Programmable, non-volatile memory, remote control capability | 10kΩ,50kΩ,100kΩ (common values) | Requires MCU and software, adds cost and complexity over analog pots. |
What are the practical steps for testing brightness on an evaluation board?
Begin by identifying the backlight driver circuit and its dimming control pin on the board’s schematic. Solder or connect a potentiometer to the appropriate pads, ensuring correct connections to voltage, ground, and the control pin. Apply power and systematically rotate the pot while observing the display under different ambient light conditions, noting the usable range and any flicker.
First, secure the evaluation board in a stable position and gather necessary tools: a soldering iron, the appropriate potentiometer, hook-up wires, and a multimeter. Locate the backlight connector and the driver IC; the board’s user manual will typically label a test point or pad for external dimming. If no dedicated pad exists, you may need to carefully solder a wire to the dimming pin of the driver chip itself. Connect the potentiometer’s outer pins to the designated voltage and ground rails, and the wiper to the control pin. Before powering on, use the multimeter in resistance mode to verify the pot’s operation and ensure no short circuits exist. Once powered, slowly adjust the pot from one extreme to the other, observing the display’s response. It’s crucial to test in both a dark room and a brightly lit environment to assess readability across conditions. For example, you might find that a voltage of1.2V provides ideal nighttime viewing, while3.0V is needed for sunlight readability. Does the brightness change linearly with the knob position, or are there dead zones at the extremes? Additionally, monitor the backlight’s current draw with a multimeter to correlate brightness with power consumption, a critical metric for battery-powered devices. This empirical testing phase often reveals nuances like minimum startup voltage or PWM frequency interference that aren’t apparent in simulations. Therefore, thorough hands-on validation is the final step in translating a schematic into a predictable, user-friendly feature.
How does manual dimming impact power consumption and LED lifespan?
Manual dimming directly reduces power consumption, as lowering brightness decreases the current through the LED array. This reduction in current and operating temperature significantly extends the LED’s operational lifespan. The relationship is often non-linear, with disproportionate lifespan gains at lower brightness levels due to reduced thermal stress.
The core principle is that LED degradation is primarily driven by heat and current density. When you use a potentiometer to lower the brightness, you are instructing the driver to reduce the forward current. This has an immediate double benefit: lower power draw from the system’s battery or power supply, and less heat generated within the LED chips themselves. For instance, reducing brightness by50% might lower power consumption by40% and junction temperature by15-20 degrees Celsius. This temperature drop is critical because the Arrhenius equation tells us that reaction rates, including those causing LED lumen depreciation, approximately halve for every10°C reduction. Imagine driving a car; consistently running the engine at high RPMs wears it out faster than a moderate cruise. Similarly, running an LED at its absolute maximum rated current for prolonged periods accelerates phosphor degradation and semiconductor aging. Could a modest20% brightness reduction double the display’s usable life? Furthermore, consistent thermal cycling from frequent full-on/full-off switching can also cause stress, making smooth analog dimming a gentler alternative. Consequently, implementing user-adjustable brightness isn’t just a feature for comfort—it’s a strategic design choice for enhancing product longevity and energy efficiency. This is a key consideration for industrial or medical devices where display reliability over many years is paramount.
| Brightness Level (% of Max) | Approximate Current Draw | Estimated Power Savings | Impact on LED Junction Temperature | Projected Effect on Lifespan (L70) |
|---|---|---|---|---|
| 100% (Full) | 120 mA (baseline) | 0% | +65°C (High Stress) | 30,000 hours |
| 75% | 85 mA | ~29% | +55°C | 45,000 hours |
| 50% | 55 mA | ~54% | +45°C (Moderate) | 70,000 hours |
| 25% | 30 mA | ~75% | +35°C | 100,000+ hours |
| 10% (Minimum usable) | 15 mA | ~87% | +30°C (Low Stress) | Significantly Extended |
Can this analog method be integrated with digital brightness control?
Yes, analog potentiometer control can be effectively integrated with digital systems. This is commonly achieved by routing the pot’s voltage output to an analog-to-digital converter (ADC) pin on a microcontroller. The MCU can then read the voltage, apply any desired scaling or filtering in software, and output a digital PWM signal to the backlight driver for ultimate control.
This hybrid approach combines the intuitive, immediate feel of a physical knob with the flexibility and memory of digital control. The circuit typically involves the potentiometer connected between a reference voltage and ground, with its wiper feeding directly into an ADC input on the MCU. The microcontroller’s firmware samples this voltage at regular intervals, converting it into a digital value. This value can then be mapped to a PWM duty cycle that is output on a separate GPIO pin connected to the LED driver’s PWM dimming input. The software layer adds immense value: it can implement non-linear mapping curves for better perceptual brightness control, store user preferences in non-volatile memory, or even automatically override the pot based on a light sensor input. For example, a user might set a preferred level with the knob, and the system could remember it for the next power cycle. Doesn’t this offer the best of both worlds? Moreover, software debouncing and filtering can eliminate any noise or jitter from a worn potentiometer, ensuring a smooth visual experience. Therefore, this integration is a popular design pattern in modern embedded systems, balancing user experience with sophisticated backend management. It allows designers to leverage simple, reliable analog components while retaining the advanced features expected in today’s smart devices.
Expert Views
Integrating manual brightness control via potentiometers is more than just a circuit design task; it’s an exercise in human-centric engineering. The tactile feedback of a knob provides users with a sense of direct, unmediated control over their device, which builds trust and satisfaction. From a technical standpoint, while purely digital solutions are prevalent, the robustness and simplicity of an analog pot in harsh electrical environments or in fail-safe scenarios should not be underestimated. It provides a deterministic, software-free fallback. For products where immediate readability under varying ambient light is critical—such as in industrial settings, marine equipment, or medical devices—this direct control method can enhance usability and safety. The key is to properly size the potentiometer and integrate sufficient filtering to prevent noise from affecting the driver, ensuring flicker-free operation across the entire adjustment range.
Why Choose CDTech
When developing products that incorporate display interfaces, partnering with a knowledgeable component supplier is crucial. CDTech, with over a decade of specialization in TFT LCD and touch solutions, brings valuable experience to the table. Their engineering team understands not just how displays are built, but how they are integrated into final products. This means they can provide guidance on practical aspects like backlight driving circuits, including recommendations for compatible driver ICs and control methods. Their expertise in custom LCD sizes, enabled by advanced cutting technology, means they can often supply a display module that fits a specific mechanical design, potentially simplifying the backlight integration process. Choosing a partner like CDTech is about accessing a depth of application knowledge that can help de-risk the development process, ensuring the display subsystem is reliable, performant, and cost-effective from prototype through to volume production.
How to Start
Begin by clearly defining your product’s requirements for brightness range, user interface, and power budget. Next, obtain the datasheet for your chosen LCD module, focusing on the backlight section—note the LED string configuration (voltage and current) and any recommended driver circuits. Source a suitable evaluation board for that display to have a known-good hardware platform. Then, design a simple test circuit with a potentiometer based on the driver IC’s dimming specifications. Prototype this circuit on a breadboard connected to the eval board’s dimming interface. Conduct systematic tests, measuring brightness versus pot position and current draw. Finally, iterate based on your findings, moving from breadboard to a more permanent prototype PCB, and consider if a hybrid analog-digital control system better meets your long-term needs.
FAQs
What is the most common resistance value for a backlight dimming potentiometer?
10k ohms is a very common value due to its wide availability and good balance between current draw and noise immunity. However, the optimal value is dictated by the specific LED driver IC’s control pin characteristics. Always consult the driver’s datasheet, which will specify the recommended input impedance or voltage range for the dimming pin to make the final selection.
Can I use a potentiometer to dim any LCD backlight?
You can dim any LED-backlit LCD, provided you have access to the driver circuit’s dimming control input. The method is universal for LED drivers accepting an analog voltage or a low-frequency PWM signal for dimming. It is not suitable for CCFL (cold cathode fluorescent lamp) backlights, which require a different, high-voltage driving methodology.
Why does my display flicker when I adjust the potentiometer?
Flicker during adjustment is often caused by a noisy or unstable voltage supply to the potentiometer, a poor connection on the wiper terminal, or the use of a logarithmic taper pot instead of a linear one. It can also occur if the driver IC’s dimming pin is sensitive to rapid voltage changes. Adding a small capacitor (e.g.,0.1µF) between the wiper and ground can help smooth the signal.
How do I choose between a rotary pot and a digital control?
Choose a rotary potentiometer for applications requiring simple, immediate, and cost-effective control without a microcontroller, or where tactile user feedback is a priority. Opt for a digital control (buttons, touch interface, MCU) when you need features like memory presets, automatic brightness adjustment via a sensor, remote control, or integration with a complex menu system.
Manual backlight dimming via a potentiometer remains a vital technique in the embedded designer’s toolkit. It offers a straightforward, reliable path to user-adjustable display brightness with direct benefits for power efficiency and LED longevity. The process demystifies the interaction between analog user input and switching power circuits, providing foundational knowledge that applies to many other areas of electronic control. Whether used as a standalone solution or integrated into a more complex digital system, this method prioritizes user experience and design robustness. Start by experimenting with an evaluation board to gain practical insights, then refine your circuit based on real-world performance metrics. This hands-on approach ensures your final product delivers optimal readability and satisfaction in its intended environment.
Post Search
Related Articles
-

Capacitive vs Resistive Touch Screen Car Stereo: Which Is Right for You?
-
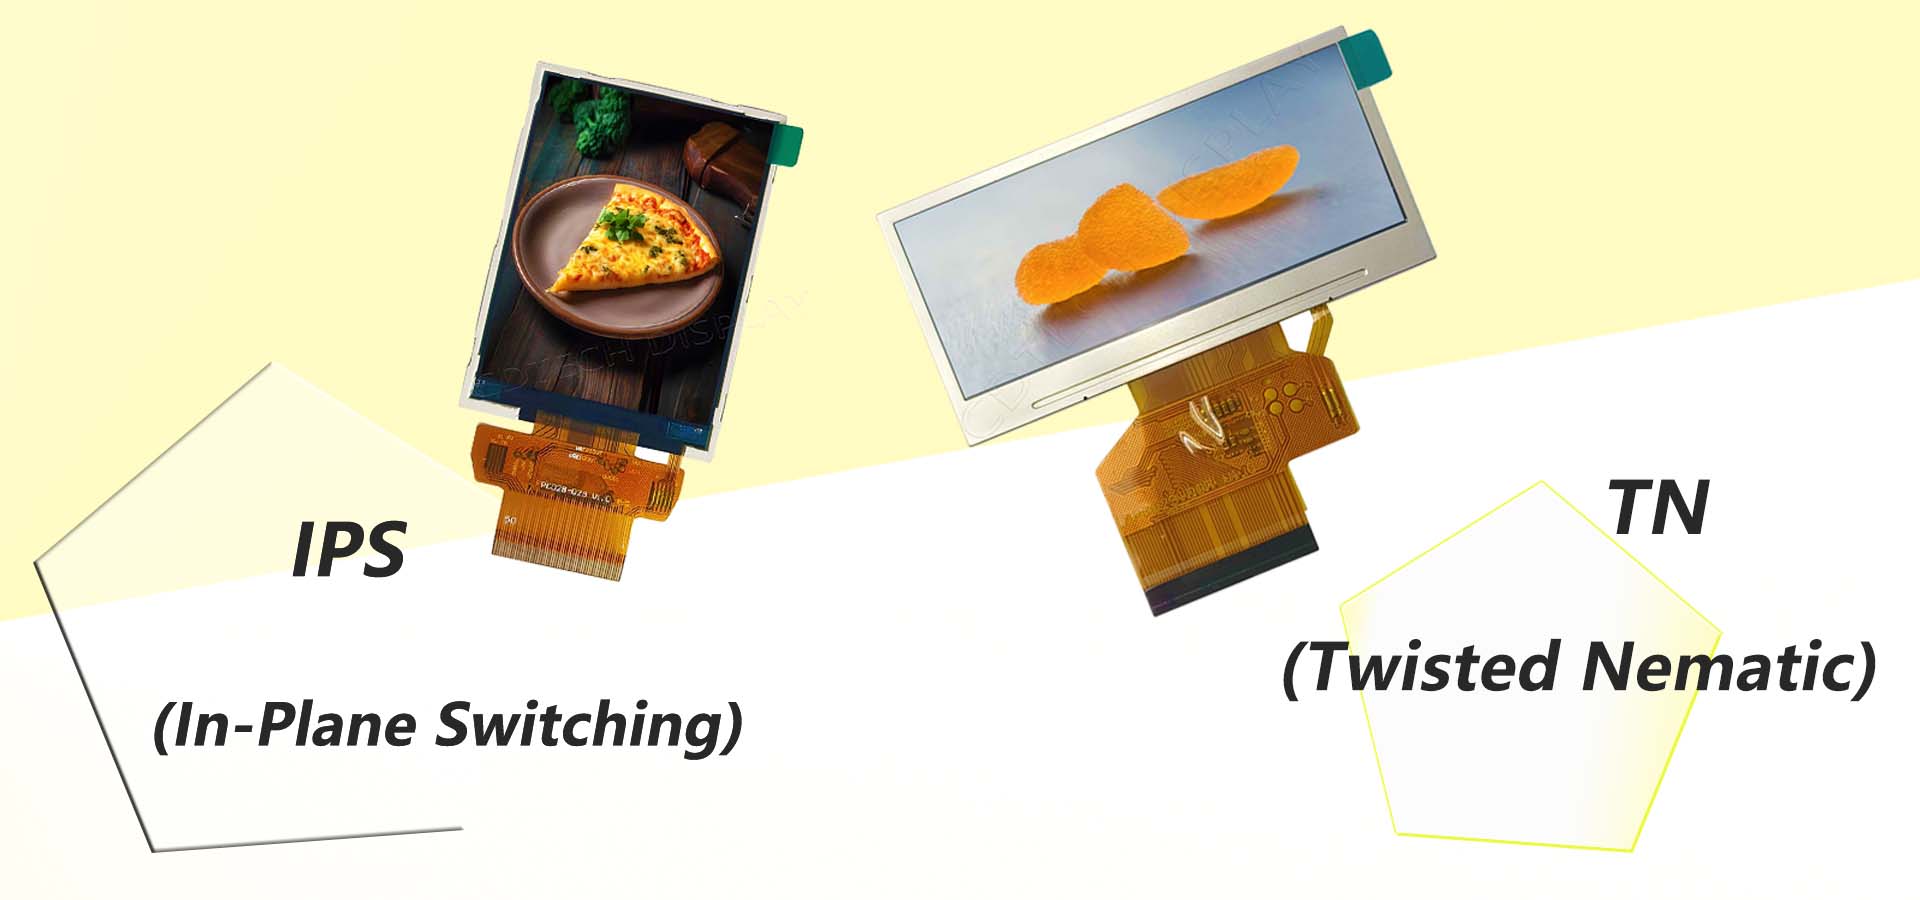
TN LCD vs IPS LCD: How to Choose the Right Display for You
-
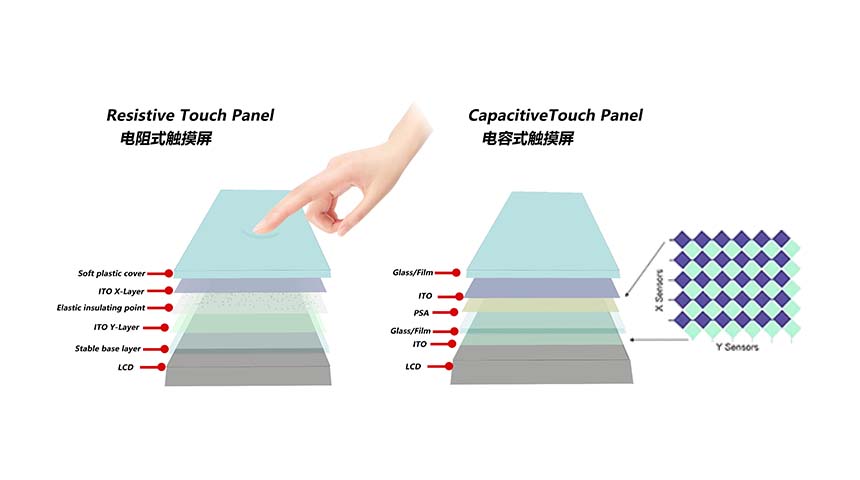
Capacitive Touch Panel or Resistive: Which Suits Your Needs?
-

Why Choose an IPS LCD Panel for Your Next Screen Purchase?
-

CDTECH to Showcase Cutting-Edge Display Solutions at SID 2025
-
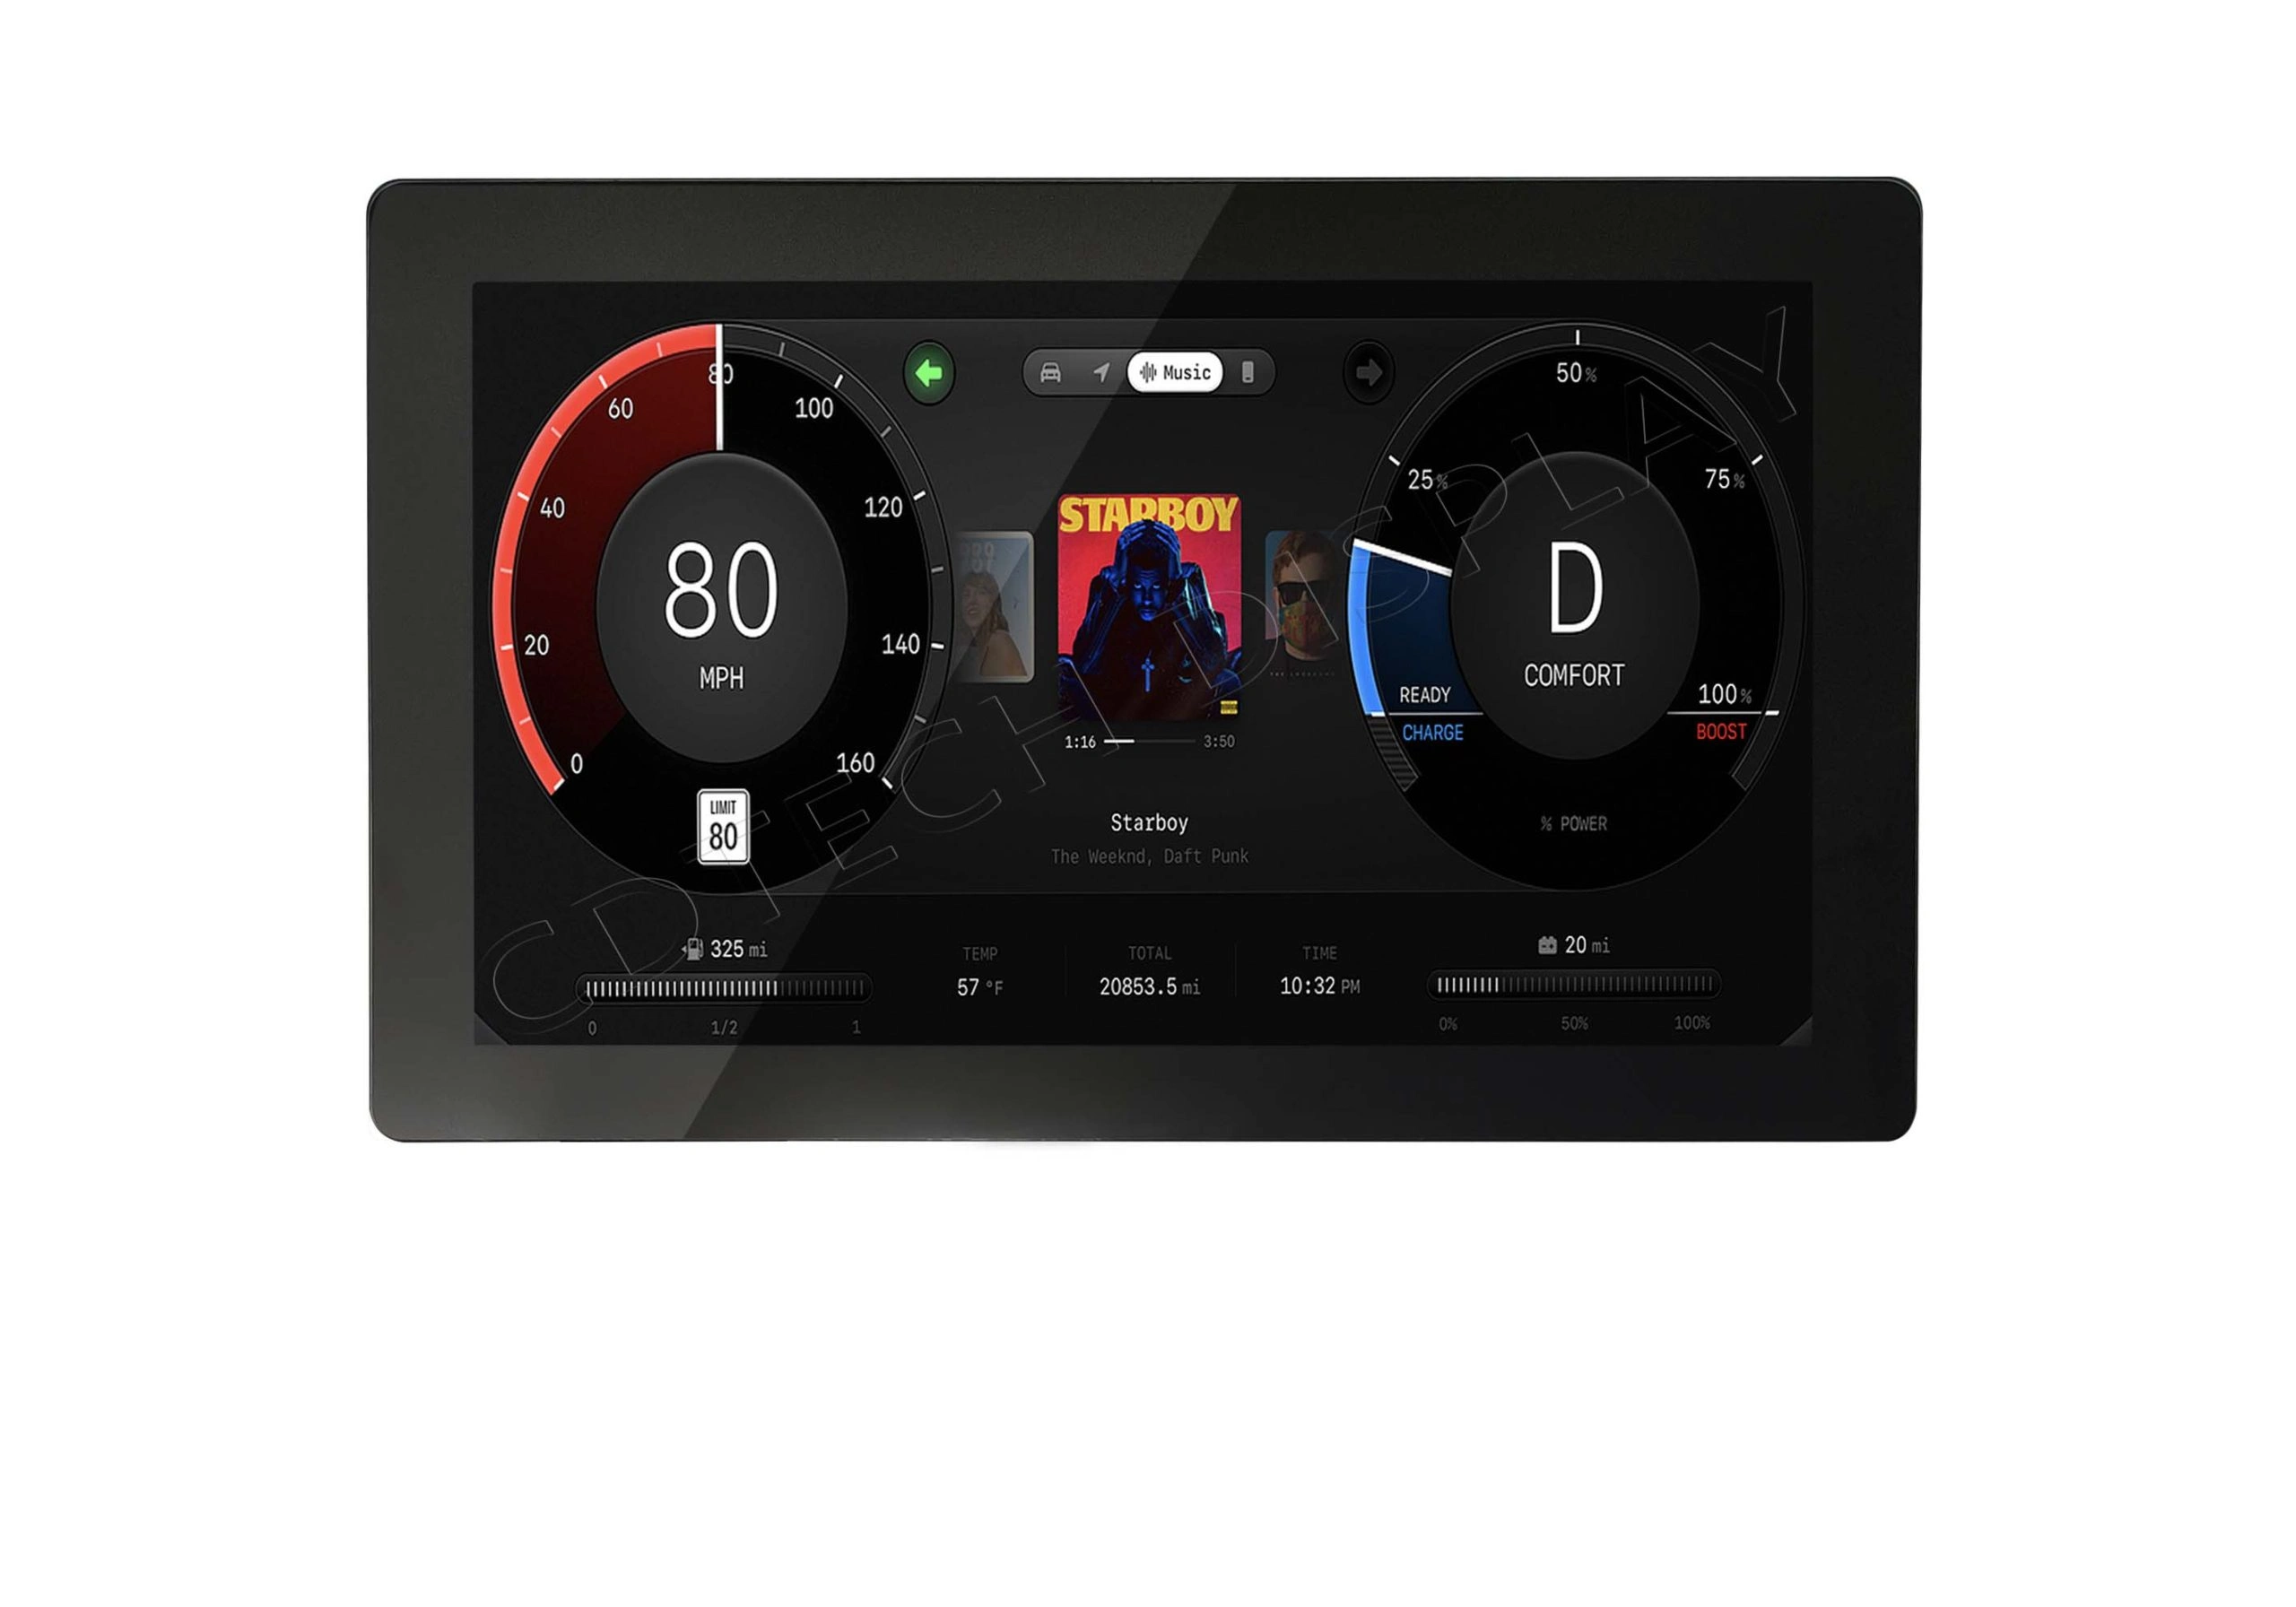
Comparing Different Types of Displays in Cars: A Detailed Overview
-

White Spots on LCD Screen: Causes, Fixes & Industrial Solutions (2026 Guide)