How do you scale an HMI prototype to mass production?
 2026-05-18
  23:00
23:00 

Transitioning from a functional HMI kit to a mass-produced product requires a fundamental shift in mindset, focusing on design for manufacturability, rigorous testing, and supply chain resilience. It’s a journey from a bespoke prototype built for validation to a robust, reliable, and cost-effective unit designed for seamless assembly and global deployment.
How do I adapt my prototype design for high-volume manufacturing?
Adapting for high-volume manufacturing means prioritizing design for manufacturability and assembly. You must scrutinize every component for availability, cost, and ease of placement. This often involves simplifying mechanical assemblies, standardizing parts, and eliminating any hand-soldered or manually adjusted elements that cannot be replicated consistently by automated pick-and-place machines.
Moving from a handful of kits to thousands of units means your design priorities must flip. The prototype is about proving function; the production design is about enabling flawless and fast replication. Start by analyzing your bill of materials with a manufacturing lens. Are all those unique connectors from your kit actually available in the quantities you need for a ten-thousand-unit run? Can that intricate,3D-printed bezel be injection-molded without costly tooling modifications? You will likely need to replace many bespoke or development-board components with industrial-grade equivalents that have longer lifecycle guarantees and are sourced from multiple vendors to mitigate risk. Consider the assembly line itself; can the LCD module be attached with clips instead of screws to reduce assembly time? Does the touchscreen flex cable have a foolproof, zero-insertion-force connector to prevent errors on the line? Think of it like building a car: a concept car uses custom parts for a show, but the production model uses standardized, reliable parts from a robust supply chain. Are your current component choices a roadblock to scalability? What single design change could save the most assembly time per unit? Consequently, partnering with an experienced manufacturer like CDTech early in this redesign phase is invaluable, as their engineers can provide specific DFM feedback to streamline your product before tooling begins.
What are the key differences between prototype and production-grade LCD modules?
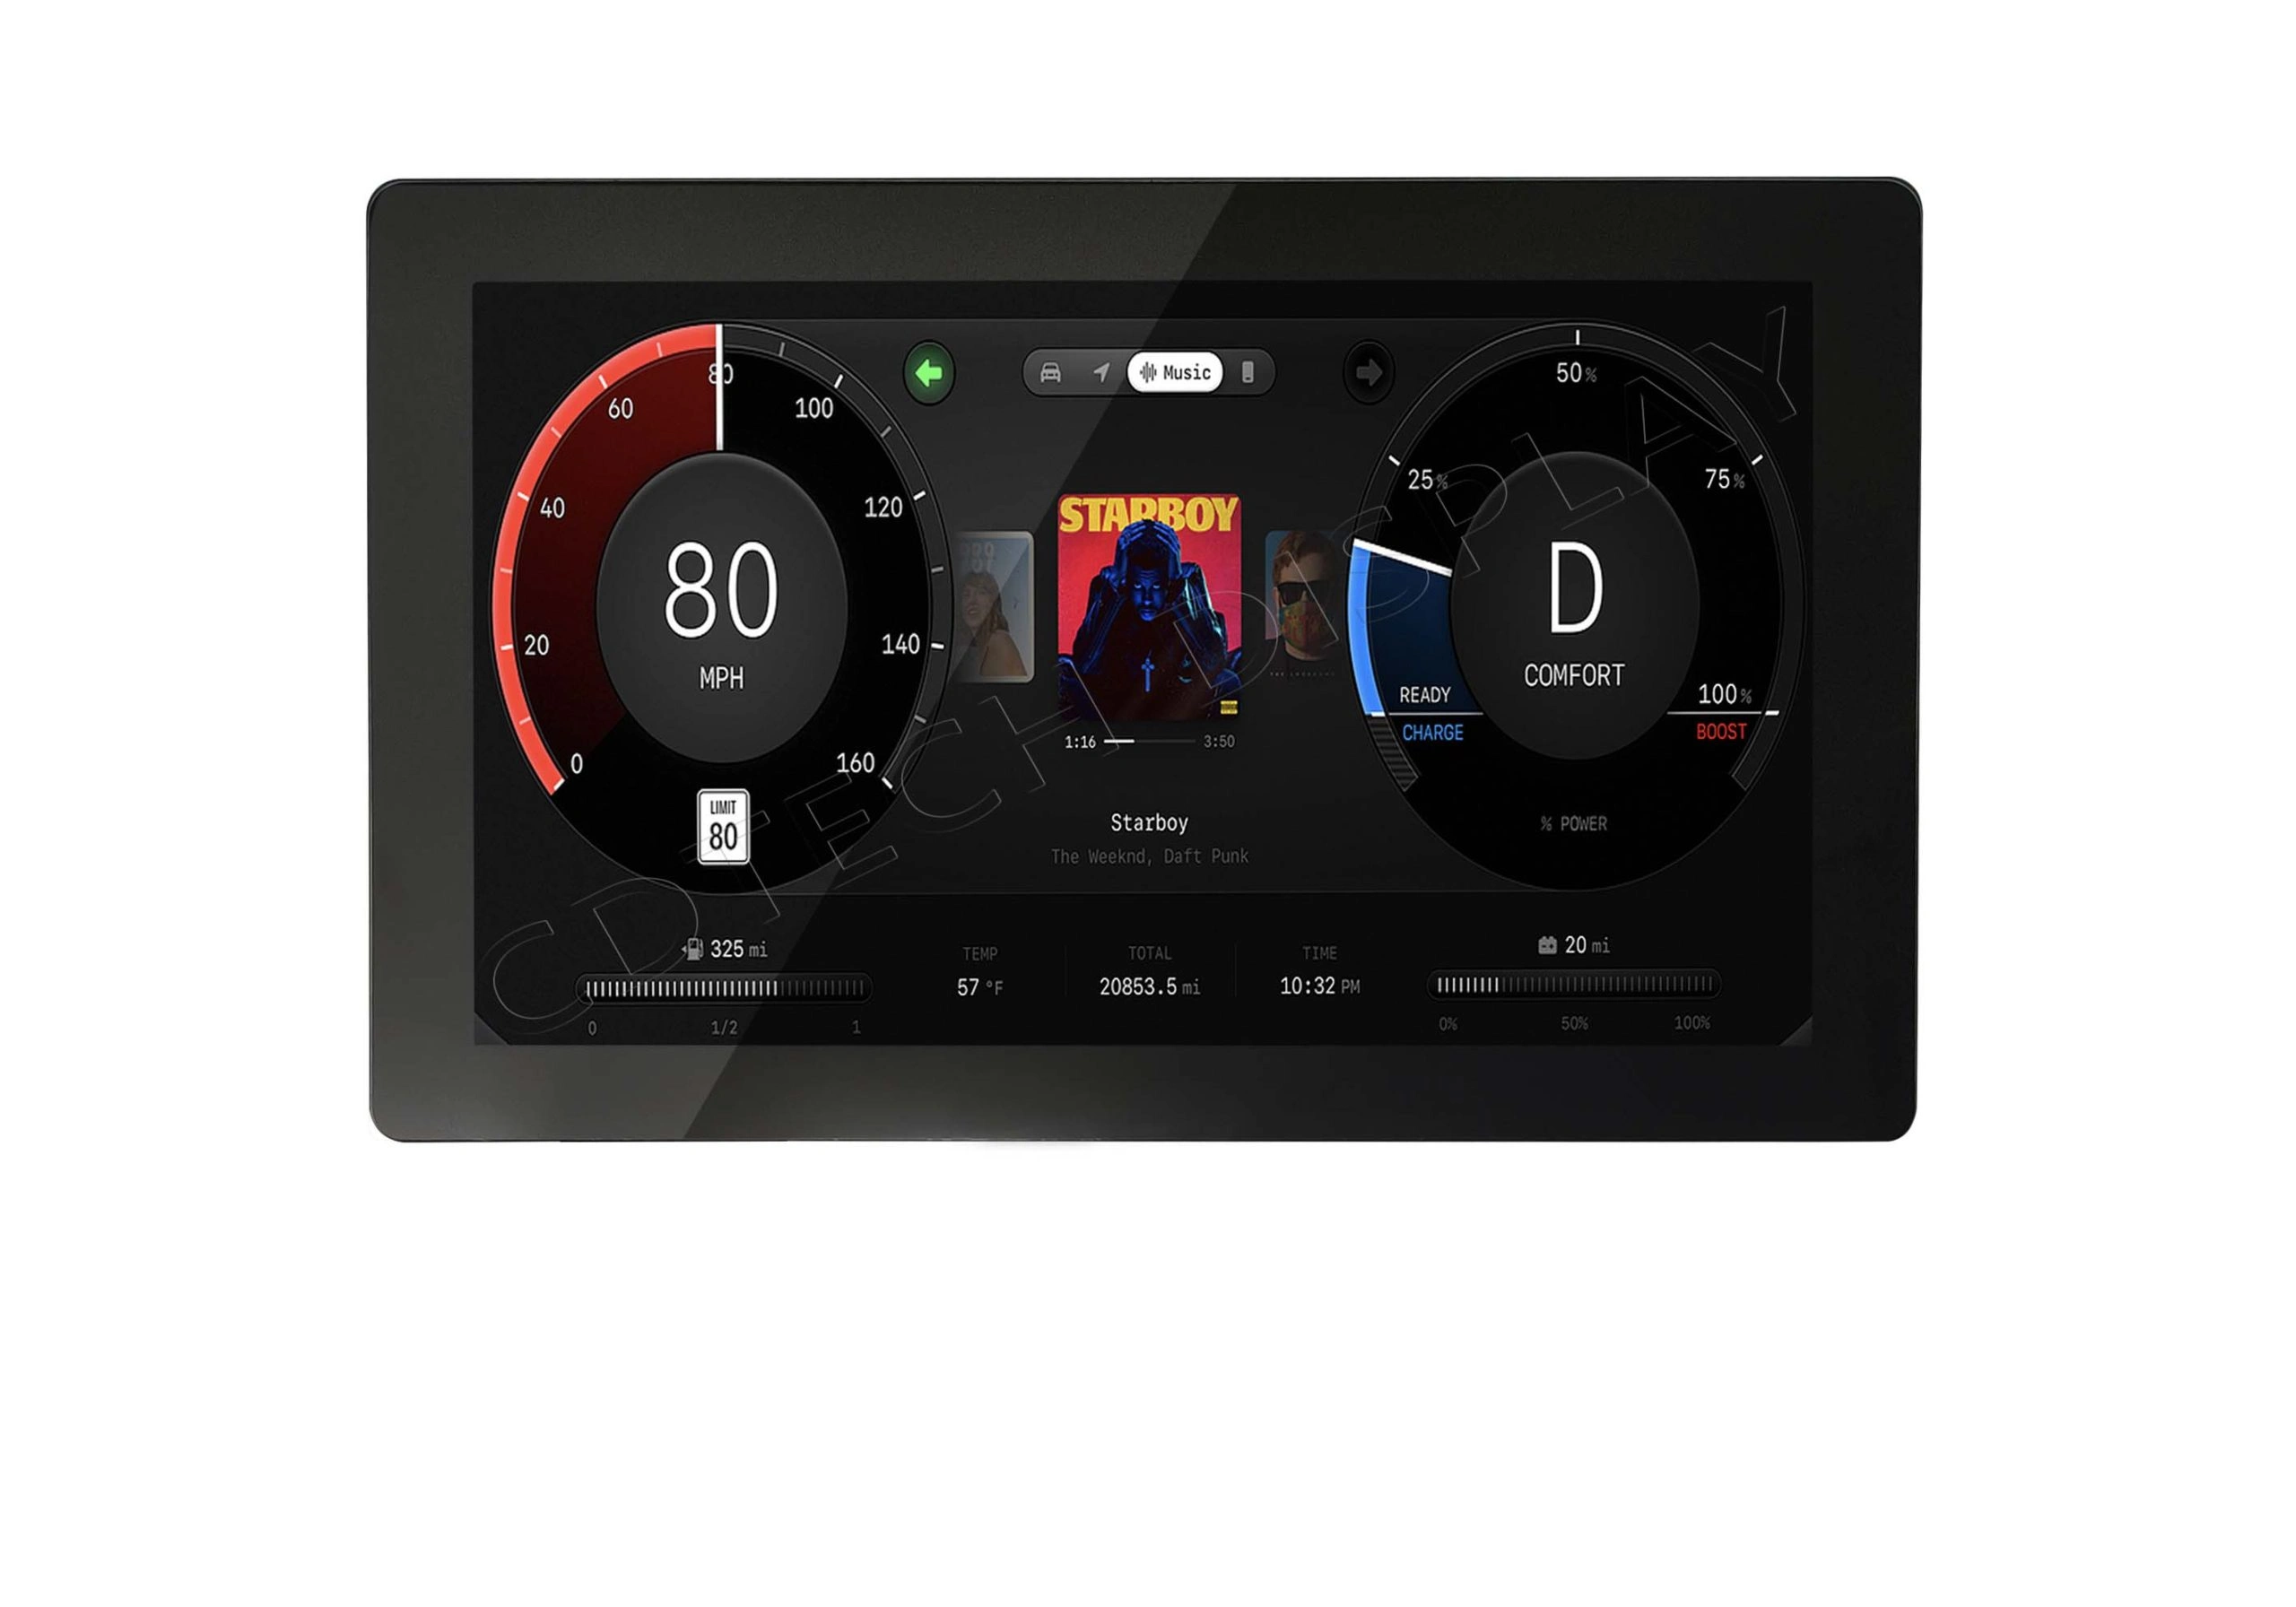
Prototype LCDs are often off-the-shelf development units focused on quick integration, while production modules are custom-engineered for reliability, longevity, and cost. Production modules feature industrial-temperature-range components, rigorous burn-in testing, and custom mechanical fittings to ensure they survive the harsh realities of the end-user environment for years without failure.
The LCD you used in your kit is likely a commercial-grade panel meant for benign, short-term testing. A production-grade module is a different beast entirely, engineered for endurance. The key differences lie in the components, the testing, and the integration. The driver ICs and backlight LEDs in a production module are specified for a wider operating temperature range, often from -20°C to70°C, to handle environments from a freezing warehouse to a sun-drenched dashboard. The bonding of the glass, the polarizer, and the touch sensor is done with industrial adhesives designed to withstand thermal cycling and humidity without delaminating. For instance, a prototype might use a generic LED backlight, but a production module for an outdoor kiosk will use high-brightness LEDs with a diffuser to ensure sunlight readability and uniform illumination. Production modules undergo burn-in testing where they are run at elevated temperatures for48-72 hours to weed out infant mortality failures. Does your current display have the optical bonding needed to eliminate glare in bright light? How will the touch sensor perform after a million actuations? Therefore, transitioning to a custom module, where CDTech can tailor the glass, driver board, and touch interface to your exact needs, is a critical step in moving from a fragile proof-of-concept to a field-ready product.
Which testing and validation protocols are essential for a production HMI?
Essential validation extends far beyond basic functionality. It includes environmental stress testing (temperature, humidity), mechanical reliability (vibration, shock), electrical compliance (ESD, EMC), and longevity testing (touch endurance, display burn-in). This rigorous process ensures the HMI will perform reliably in its intended operating environment throughout its entire product lifecycle.
Your kit worked on your lab bench, but will it work in a vibrating factory, a dusty agricultural vehicle, or a consumer’s home after two years? Production validation answers these questions with hard data. The protocol must be comprehensive, simulating the entire lifespan of the product in an accelerated timeframe. Electrically, you must test for electrostatic discharge immunity to prevent lock-ups from user touch, and electromagnetic compatibility to ensure your display doesn’t interfere with, or get interfered by, other electronics in the system. Mechanically, vibration and shock tests simulate shipping and operational stresses, checking for loose connections or cracked solder joints. Environmental chambers cycle the unit through extreme hot and cold temperatures combined with high humidity, searching for condensation or component drift. Think of it like training for a marathon; your kit was a leisurely jog, but production validation is the grueling, systematic training regimen that prepares the product for the real-world marathon of daily use. What hidden point of failure will only reveal itself after500 thermal cycles? Is your firmware robust enough to handle power interruptions gracefully? Ultimately, creating a detailed test plan that mirrors the product’s use case is not an optional step but a foundational requirement for a credible mass-produced HMI.
How do I manage component sourcing and supply chain for mass production?
Mass production sourcing requires moving from buying retail components to establishing contracts with manufacturers or authorized distributors. You must qualify multiple sources for critical components, plan for long lead times, and implement inventory buffer strategies. The goal is to create a resilient supply chain that prevents production halts due to a single part shortage, ensuring consistent product delivery.
| Component Category | Prototype Sourcing Mindset | Mass Production Sourcing Strategy | Key Risk Mitigation Tactic |
|---|---|---|---|
| Core LCD Panel | Single off-the-shelf unit from a developer catalog. | Direct contract with panel fab or authorized volume distributor; second-source qualification. | Secure a rolling forecast and commit to minimum order quantities for price stability and allocation. |
| Touch Controller IC | Using whatever is on the evaluation board. | Selecting an industrial-grade IC with multiple pin-compatible alternates from different manufacturers. | Design the PCB footprint to accept at least two different manufacturer’s chips without layout changes. |
| Connectors & Cables | Generic cables sourced from electronics hobbyist sites. | Custom-molded cable assemblies with defined mechanical keying to prevent mis-mating. | Dual-sourcing the connector manufacturer and maintaining a4-8 week safety stock of finished cables. |
| Passive Components (Resistors, Capacitors) | Standard values from any supplier. | Specifying AEC-Q200 automotive-grade components for higher reliability, even for industrial use. | Approving a primary and secondary vendor for each critical passive to avoid line stoppages. |
What are the cost structure changes from prototyping to mass production?
The cost structure undergoes a dramatic shift from high unit cost with low fixed overhead to lower unit cost with significant upfront capital investment. Prototyping costs are dominated by part markups and labor, while production costs are driven by tooling, compliance testing, and the economies of scale on materials and assembly, requiring a detailed understanding of both non-recurring and recurring expenses.
| Cost Factor | Prototype/Kit Phase (Low Volume) | Mass Production Phase (High Volume) | Financial Planning Implication |
|---|---|---|---|
| Unit Cost Driver | High per-part cost from retail distributors; manual assembly labor. | Negotiated bulk material costs; highly automated assembly minimizing labor. | Unit cost can drop60-80%, but high volume is required to amortize upfront investments. |
| Upfront Capital (NRE) | Minimal; limited to PCB fabrication and some custom parts. | Significant for injection molds, test fixtures, compliance certification, and production line setup. | Requires substantial initial funding or staged payment terms with manufacturing partners like CDTech. |
| Compliance & Testing | Often deferred or done informally. | Mandatory budget line for FCC/CE/UL certification and rigorous reliability testing. | A non-negotiable expense for market access; must be included in the initial business case. |
| Inventory & Logistics | Small, manageable stock held by the developer. | Complex warehousing, buffer stock for critical parts, and international shipping logistics. | Requires working capital and potentially a relationship with a third-party logistics provider. |
Why is firmware and software readiness critical for the production line?
Firmware must be stable, feature-locked, and designed for rapid, foolproof programming on the assembly line. It needs built-in self-test routines, version control that is traceable to each unit, and recovery mechanisms for failed flashes. Unstable firmware can bottleneck production, cause high defect rates, and lead to costly field updates, crippling your launch.
On the production line, time is money, and a firmware bug that requires manual rework on thousands of units is a disaster. Your development firmware is not suitable for this high-stakes environment. Production firmware must be a locked, golden image with all features finalized and tested. It should include a power-on self-test that automatically verifies the display, touch, memory, and critical interfaces, providing a simple pass/fail indicator for line workers. The programming process itself must be fast and robust, using bed-of-nails test points or a jig that programs the unit in seconds, not minutes. Consider it the final exam for your software; it must run perfectly without any developer intervention or debugging tools attached. How will you ensure every unit on the pallet has the correct software version? What happens if the power fails during the flash process? Consequently, investing in a dedicated manufacturing firmware branch, automated programming jigs, and a solid versioning system is as critical as the hardware tooling. This foresight prevents the production line from becoming a debugging nightmare and ensures every product that ships is functionally identical and reliable.
Expert Views
The most common pitfall in scaling an HMI is underestimating the totality of the transition. Engineers often focus on the PCB and firmware, treating the display and touch as simple commodities. In reality, the display module is the user’s entire interface to your product. Its optical performance, mechanical integration, and long-term reliability under environmental stress are paramount. A failure here is a product failure. Partnering with a specialist who understands both the component-level details and the system-integration challenges, from optical bonding for sunlight readability to ensuring the capacitive touch works reliably with gloves, is not a procurement step—it’s a strategic engineering decision that defines product quality. Skipping rigorous environmental and longevity testing to save time or money inevitably leads to higher warranty costs and brand damage later.
Why Choose CDTech
Choosing a partner like CDTech for your scaling journey brings a critical blend of vertical integration and application expertise. As a manufacturer that controls the process from glass cutting to final assembly, they provide direct insight into design for manufacturability that can dramatically simplify your product. Their experience across industries means they can advise on material choices for specific environments, whether that’s anti-glare treatments for outdoor use or robust interfaces for industrial vibration. This guidance helps avoid costly redesigns late in the process. Furthermore, their focus on customization means your production HMI isn’t a compromise built from off-the-shelf parts, but a solution engineered to fit your mechanical, optical, and performance requirements precisely, which enhances reliability and brand differentiation.
How to Start
Begin by conducting a thorough design review of your current prototype with manufacturing as the central focus. Create a complete bill of materials and identify every component that is not rated for industrial temperature ranges or sourced from a single supplier. Next, engage with a potential manufacturing partner early, sharing your design goals and target costs to get real-world DFM feedback. Then, develop a comprehensive validation test plan based on your product’s operational environment, specifying all electrical, mechanical, and environmental tests required. Finally, build a small pilot run of50-100 units using near-production tools and components to uncover any final integration issues before committing to full-scale tooling and volume orders.
FAQs
How long does the transition from kit to mass production typically take?
The timeline can vary from6 to18 months, depending on design complexity, the extent of customization needed for the display, and the rigor of compliance testing. A simple design using mostly standard components may be on the shorter end, while a fully custom HMI requiring new tooling and extensive environmental validation will take longer.
What is the minimum order quantity for a custom LCD module?
MOQs depend heavily on the level of customization. For a semi-custom module using a standard panel with a custom adapter board, MOQs might start around500 pieces. For a fully custom display from the glass up, the investment in tooling means MOQs are typically in the several thousand unit range to be economically viable.
Can I keep using the same microcontroller from my prototype in production?
You can, but you must carefully evaluate its long-term availability, industrial temperature rating, and packaging. Many development board MCUs are commercial-grade and may be discontinued or become allocation items. It’s often prudent to switch to an industrial-grade version of the same family or a pin-compatible alternative with a secured supply chain.
Who handles compliance testing like FCC and CE certification?
While you as the product owner are ultimately responsible for certification, most experienced manufacturing partners like CDTech can guide you through the process and may have established relationships with testing laboratories. They can ensure the product is designed to meet relevant standards from the outset and assist in submitting pre-production samples for formal testing.
The journey from a working kit to a successful mass-produced product is a transformative process that demands a strategic shift in thinking. Key takeaways include the necessity of designing for manufacturability from the start, the critical importance of moving to industrial-grade and properly sourced components, and the non-negotiable role of comprehensive testing. The cost model flips, requiring significant upfront investment for long-term unit economics. To navigate this successfully, start your engagement with manufacturing and supply chain partners early, treat your display and touch interface as a core system worthy of customization, and build a detailed, phased plan that includes a pilot run. By methodically addressing these areas, you transform a promising prototype into a reliable, scalable product ready for the global market.
Post Search
Related Articles
-
Capacitive vs Resistive Touch Screen Car Stereo: Which Is Right for You?
-
TN LCD vs IPS LCD: How to Choose the Right Display for You
-
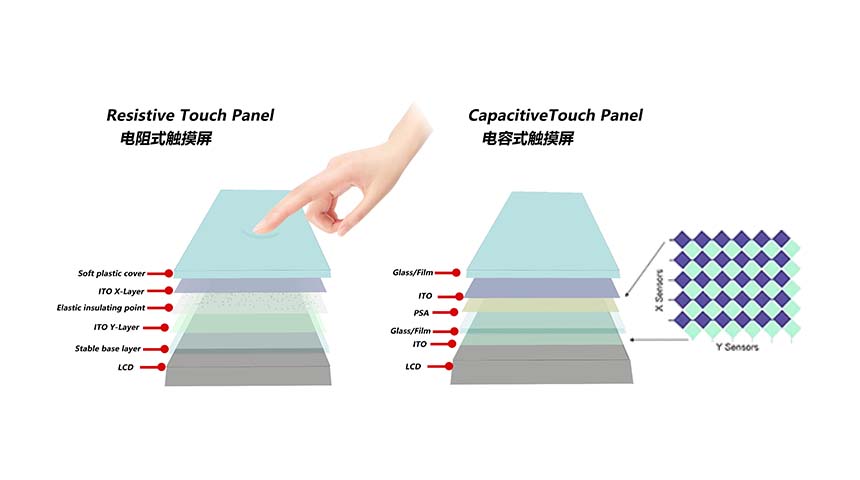
Capacitive Touch Panel or Resistive: Which Suits Your Needs?
-
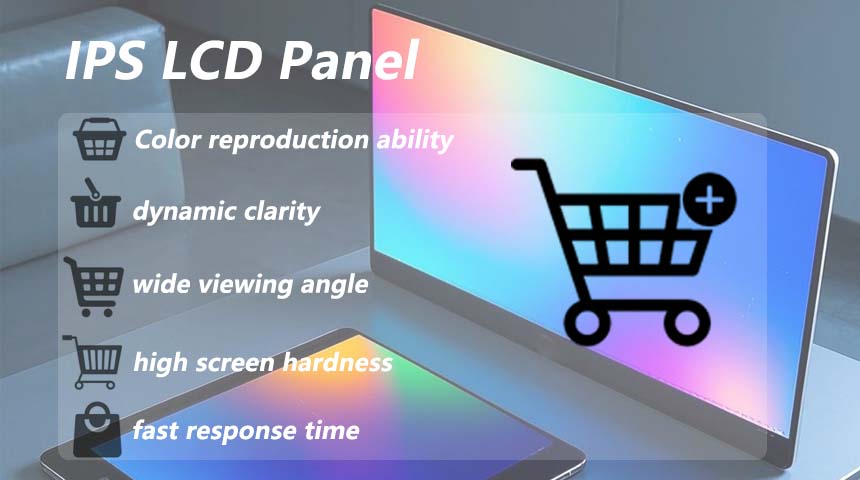
Why Choose an IPS LCD Panel for Your Next Screen Purchase?
-
CDTECH to Showcase Cutting-Edge Display Solutions at SID 2025
-
Comparing Different Types of Displays in Cars: A Detailed Overview
-

White Spots on LCD Screen: Causes, Fixes & Industrial Solutions (2026 Guide)