
What is included in a typical CDTech LCD evaluation kit?
 2026-05-18
  22:58
22:58 

An LCD evaluation kit from CDTech typically contains a display module, a driver board, various cables, and sometimes software or a simple controller. It’s a complete hardware platform designed to let engineers and developers test, prototype, and integrate a display into their system without building the supporting electronics from scratch.
What Components Are Typically Found Inside a Display Eval Kit?
When you open a display evaluation kit, you will find a core set of components designed for immediate testing. The central item is the TFT LCD module itself, which is the primary display component. Accompanying this is a driver or controller board that interprets signals for the screen. A collection of interface cables, such as HDMI or LVDS, and often a power supply complete the physical package. Some advanced kits may also include a touch controller if the display features capacitive touch, providing a full input-output evaluation platform right out of the box. This setup allows developers to focus on integration rather than sourcing individual parts.
Opening a CDTech evaluation kit reveals a thoughtfully curated hardware suite. The star is invariably the high-brightness TFT LCD panel, often with wide viewing angles and a specific resolution like1024x600. The companion driver board is the unsung hero, converting standard video signals from your development PC into the precise timing the LCD requires. You will typically find an assortment of cables; an HDMI cable offers plug-and-play compatibility for quick visual checks, while an LVDS ribbon cable is included for more embedded-style connections. A compact12V power adapter ensures everything has the juice to run. For touch-enabled kits, a separate USB controller board is often bundled, allowing you to test multi-touch gestures immediately. This comprehensive approach means you are not left scrambling for a missing connector. How many projects have been delayed simply because a cable was not on hand? The kit anticipates these pitfalls. Consider it like a chef’s mise en place, where all ingredients are prepped and ready, allowing you to cook your application without distraction. Transitioning from unboxing to a working display often takes mere minutes, which is a testament to the kit’s practical design. Furthermore, the inclusion of multiple interface options provides flexibility, letting you test the display in different system configurations right from the start.
How Does the Driver Board Interface with Different Development Systems?
The driver board acts as a universal translator, bridging the gap between common development outputs and the specific language of the LCD. It typically accepts input through standard connectors like HDMI, VGA, or LVDS. For embedded developers, boards often feature interfaces like RGB parallel or MIPI DSI. The board’s onboard controller chip then processes this incoming video data, generating the exact control signals, voltage levels, and timing sequences needed to drive the TFT panel correctly and reliably.
The driver board is the critical bridge in any evaluation kit, and its design dictates compatibility. A typical CDTech driver board will feature multiple input ports, such as HDMI for modern computers and LVDS for industrial PCs or single-board computers. This dual-interface capability is crucial. For instance, you might use HDMI for initial firmware development on a desktop, then switch to LVDS when porting the code to a custom ARM-based embedded system. The board’s onboard timing controller, or TCON, handles the complex task of converting the incoming frame data into the row and column addressing signals the LCD matrix needs. It also manages power sequencing, ensuring the panel’s backlight and logic voltages are applied in the correct order to prevent damage. Isn’t it frustrating when a display flickers or fails to initialize due to poor power management? These boards are engineered to eliminate that headache. Think of the driver board as a skilled interpreter at a diplomatic summit, seamlessly converting between languages so that all parties—your processor and the display—can communicate effectively. Consequently, this flexibility accelerates the prototyping phase significantly. Moreover, by providing a stable and known-good reference design, the board gives engineers a clear blueprint for designing their own circuitry in the final product, reducing risk and development time.
Which Software and Documentation Support is Provided for Rapid Prototyping?
Beyond hardware, a robust eval kit includes essential software and documentation to jumpstart development. This often comprises basic display drivers, initialization code snippets, and sometimes a simple GUI demo application. The most valuable asset is typically the detailed datasheet for the LCD module, covering electrical characteristics, pinouts, and timing diagrams. Additional documents may include a user manual for the driver board, schematic diagrams, and application notes that offer guidance on power supply design and interference mitigation.
| Document/Software Type | Typical Content & Purpose | Impact on Development Speed |
|---|---|---|
| LCD Module Datasheet | Provides absolute maximum ratings, optical specifications, detailed interface pinout, and precise timing parameters for the LCD controller. | Essential for hardware designers to create a compatible custom PCB, preventing electrical or timing mismatches. |
| Driver Board Schematic | A complete circuit diagram showing the power regulation, signal conditioning, and connector layouts used on the evaluation board. | Serves as a proven reference design, allowing engineers to adapt or copy critical circuits for their own designs with confidence. |
| Initialization Code (C/Arduino) | Pre-written software routines that configure the display’s controller chip with the correct register settings for resolution and color depth. | Dramatically reduces software bring-up time, providing a working baseline that developers can modify for their application. |
| GUI Demo Application | A simple program showcasing basic graphics, touch response, and sometimes widget libraries to demonstrate the display’s capabilities. | Offers immediate visual verification of hardware function and inspires UI/UX design concepts for the end product. |
What Are the Key Specifications to Evaluate in an LCD Module?
Selecting the right evaluation kit starts with understanding the LCD module’s core specifications. Key parameters include the screen size, resolution, and aspect ratio, which define the physical footprint and pixel density. The display technology, like IPS for wide viewing angles or TN for faster response, is critical for the intended use case. Other vital specs are brightness for outdoor visibility, contrast ratio for image depth, and the interface type which determines compatibility with your host system.
Evaluating an LCD module requires a careful look beyond just size and resolution. The interface type, such as LVDS or RGB, is a fundamental compatibility gate. Brightness, measured in nits, dictates whether the display is suitable for dim indoor control panels or sunlit outdoor kiosks. The contrast ratio influences how rich and deep images appear, which is vital for medical imaging or premium consumer devices. Viewing angle technology, like IPS or VA, ensures that information remains visible from off-axis positions, a must for multi-user point-of-sale systems. Operating temperature range is another silent but critical spec for automotive or industrial applications where extremes are the norm. Would a beautiful display be of any use if it failed in a freezing warehouse or a hot car dashboard? These specifications form the DNA of the module’s application suitability. Imagine choosing a display like casting an actor for a role; the right combination of traits ensures a performance that fits the environment perfectly. Therefore, a comprehensive evaluation kit allows you to test these specs in real-world conditions, not just on paper. Subsequently, you can verify claims about touch sensitivity, color gamut, and power consumption firsthand before committing to a large production order.
How Can You Test Touchscreen Functionality with an Evaluation Kit?
Testing touch functionality is streamlined in kits that include capacitive touch panels. The process usually involves connecting the touch sensor’s flex cable to a dedicated USB controller board provided in the kit. Once connected to a computer, the operating system typically recognizes it as a standard HID-compliant touch device. You can then use built-in OS tools or simple drawing applications to test multi-touch gestures, accuracy, linearity, and response time, validating the panel’s performance for your specific interactive application needs.
Touchscreen evaluation is a multi-faceted process that goes beyond just checking if a tap registers. A proper CDTech kit with a capacitive touch panel will include a separate controller board that connects via USB. When you plug it in, your computer should recognize a new touch input device. The first test is often a basic drawing app to check for smoothness and the absence of “jumps” or dead zones. Next, you would test multi-touch by using gestures like pinch-to-zoom or two-finger rotation. It is also crucial to test for environmental factors, such as performance with a screen protector or under light moisture. Does the touch response remain stable and accurate under these realistic conditions? The kit provides the platform to answer that. Consider it a test drive for the user’s finger; you are assessing the responsiveness and feel of the interface before it reaches the end customer. Furthermore, you can measure the report rate of the touch controller, which affects how smoothly a drawn line follows a stylus. This hands-on testing phase is invaluable for UI/UX designers and firmware engineers alike, ensuring the final product delivers a seamless and intuitive user experience.
What Are the Common Applications and Industries for These Kits?
Display evaluation kits serve as a critical first step in product development across a wide range of industries. Common applications include industrial human-machine interfaces (HMIs), medical monitoring devices, point-of-sale systems, and automotive infotainment centers. They are also extensively used in consumer electronics prototyping, smart home control panels, and gaming devices. The kits allow engineers in these fields to validate display performance, test software integration, and create proof-of-concept demos before finalizing their product design.
| Industry Application | Typical Display Requirements | How an Eval Kit Facilitates Development |
|---|---|---|
| Industrial HMI & Control | High brightness for factory floors, wide temperature tolerance, robust touch for glove use, and long-term reliability. | Allows testing of sunlight readability and touch response with various materials before designing a sealed, rugged enclosure. |
| Medical Diagnostic Equipment | High resolution and color accuracy for imaging, compliance with safety standards, and easy-clean glass surfaces. | Enables verification of grayscale and color reproduction for diagnostic accuracy in a lab bench setting. |
| Automotive Infotainment | Extended temperature range, high contrast for sunlight, fast response time, and often a curved or custom-shaped form factor. | Provides a platform to test display performance under simulated thermal stress and develop UI concepts. |
| Consumer IoT & Smart Home | Cost-effective modules, sleek design, responsive capacitive touch, and low power consumption for always-on devices. | Helps prototype the user interface and assess the aesthetic fit of the display within a product concept model. |
Expert Views
In the field of embedded systems design, a high-quality display evaluation kit is more than just a convenience; it is a risk mitigation tool. The ability to physically test a display’s optical performance, interface compatibility, and touch response in your actual application environment is invaluable. It uncovers integration issues—like electromagnetic interference or power sequencing problems—early in the design cycle when they are cheap and easy to fix. A comprehensive kit from a supplier like CDTech, which includes proper documentation and reference designs, effectively transfers the supplier’s expertise to the engineering team. This accelerates development and provides a known-good baseline, reducing uncertainty and preventing costly respins of custom hardware. The time saved in prototyping directly translates to a faster time-to-market, which is a critical competitive advantage in today’s fast-paced product development landscape.
Why Choose CDTech
Choosing a supplier for display components and evaluation kits involves considering technical support, customization capabilities, and supply chain reliability. CDTech brings over a decade of specialized experience in TFT LCD and touch panel manufacturing to the table. This experience is embedded in their evaluation kits, which are designed to reflect real-world application challenges. Their focus on custom LCD sizes, enabled by advanced cutting technology, means their kits often showcase unique form factors that are not off-the-shelf commodities. Furthermore, their position as a solution provider, rather than just a component vendor, often results in more comprehensive support documentation and a willingness to engage on technical issues. This can be crucial for engineers facing tight deadlines or novel design requirements, providing a layer of partnership that goes beyond a simple transaction.
How to Start
Beginning with a display evaluation kit is a straightforward process aimed at solving integration problems. First, clearly define your project’s core requirements: the necessary screen size, resolution, brightness, interface, and whether touch is needed. Second, select a kit from a supplier like CDTech that most closely matches these needs, prioritizing the display module’s specs over the board’s features. Third, upon receiving the kit, methodically test each function. Start by powering the display with the provided driver board to verify basic operation. Then, if applicable, connect the touch controller and calibrate it using your computer’s settings. Fourth, integrate the display with your own target hardware or development platform, using the provided schematics and code snippets as a guide. Finally, stress-test the setup under conditions that mimic your final application environment, such as varying temperatures or different lighting scenarios, to uncover any potential issues before your own PCB design is finalized.
FAQs
Do I need special software to use a CDTech evaluation kit?
For basic display output, no special software is typically needed if using the HDMI input. Your computer will treat it as a standard monitor. For touch functionality, basic drivers are usually automatically installed by the operating system. For embedded development, the provided initialization code and datasheets are the key software resources needed to write your own drivers.
Can I use the driver board from the kit in my final product?
While it is technically possible, the driver board in an evaluation kit is generally designed for prototyping flexibility and may be larger or more expensive than necessary for mass production. Its primary purpose is to serve as a reference design. Engineers typically use the schematic and layout from the kit’s board to design a customized, cost-optimized version for their final product.
What if the standard kit doesn’t have the exact interface my project requires?
Many display manufacturers, including CDTech, offer customization services. If your project requires a less common interface like MIPI DSI or a specific LVDS mapping, it is often possible to request a custom-configured evaluation kit or a modified driver board. Engaging with their engineering team early in the specification phase is the best way to address unique interface requirements.
How do I power the evaluation kit if a power adapter is not included?
Most driver boards in these kits require a single DC voltage input, commonly12V. The specific voltage and connector polarity will be clearly marked on the board itself or in the user manual. You can use a standard regulated DC power supply that matches these requirements. Always double-check the voltage and polarity before connecting to avoid damaging the components.
In summary, a comprehensive display evaluation kit is an indispensable tool for modern product development, transforming a complex integration task into a manageable process. The key takeaway is that a good kit provides not just hardware, but a complete ecosystem—including critical documentation and reference designs—that de-risks development. By allowing hands-on testing of specifications like brightness, touch response, and interface compatibility, it bridges the gap between datasheet promises and real-world performance. The actionable advice is to select a kit based on the display module that best fits your end application, and to leverage the provided resources fully to accelerate your design cycle. Ultimately, investing time in thorough evaluation upfront with a platform from an experienced provider like CDTech can prevent costly redesigns and ensure your final product delivers a superior visual and interactive experience.
Post Search
Related Articles
-
Capacitive vs Resistive Touch Screen Car Stereo: Which Is Right for You?
-
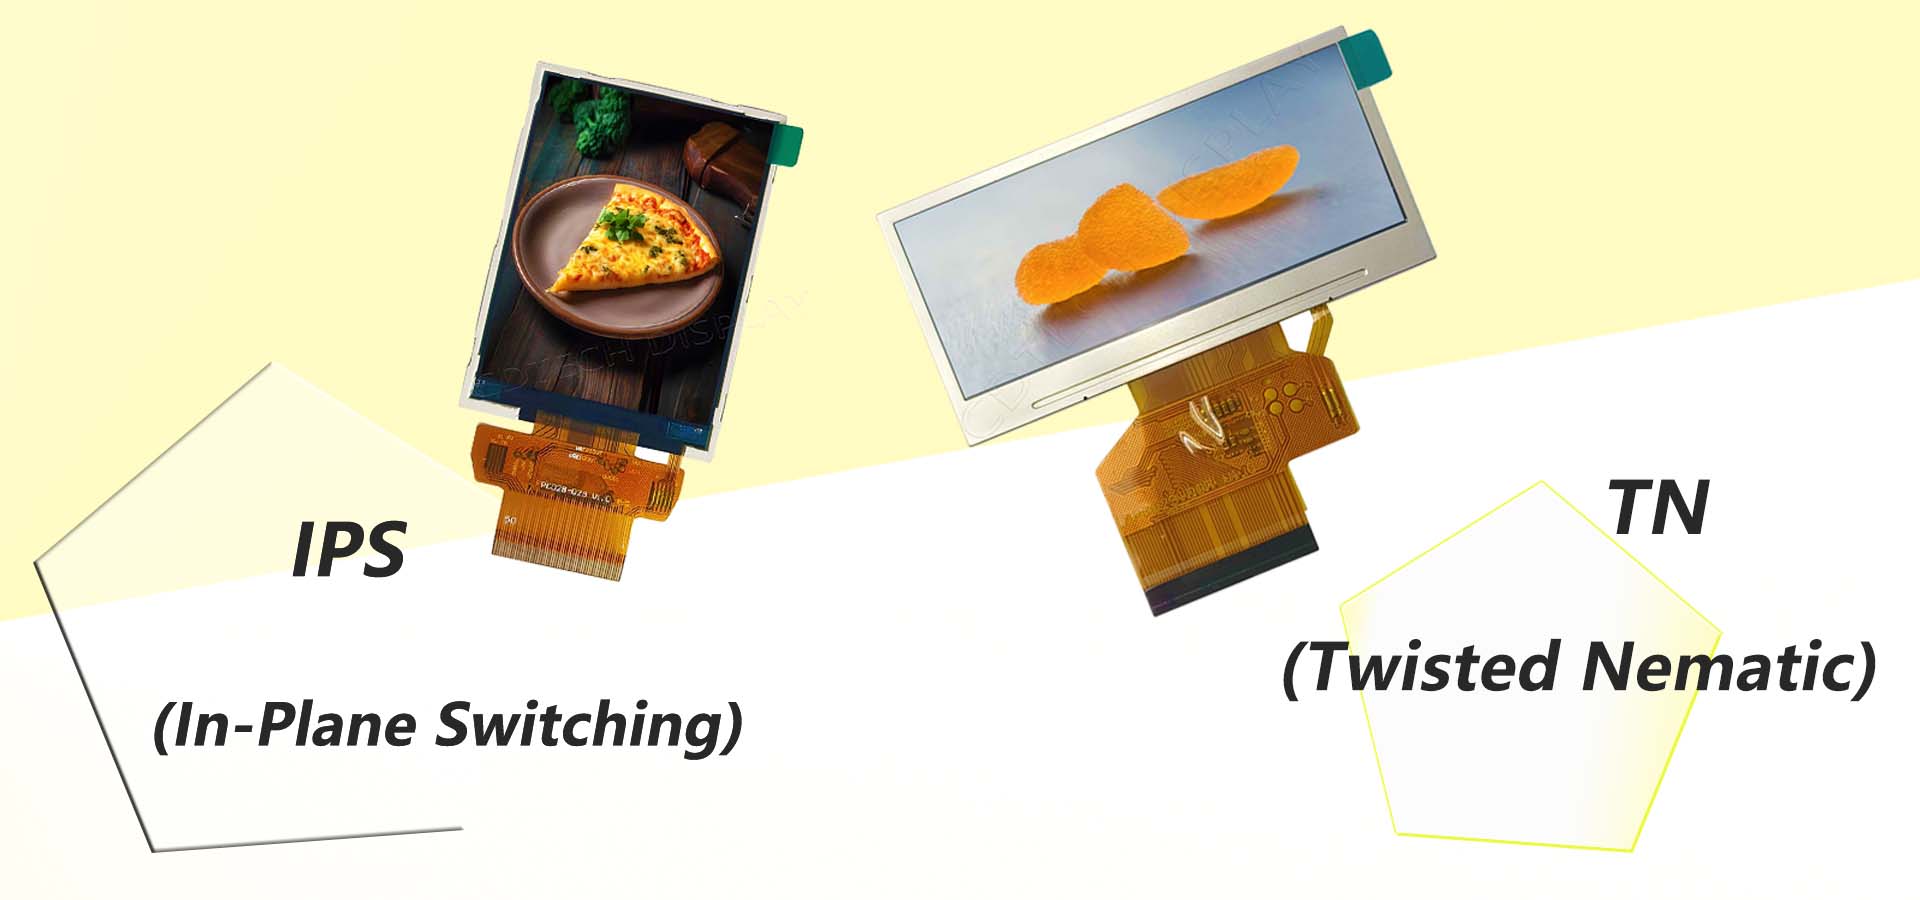
TN LCD vs IPS LCD: How to Choose the Right Display for You
-
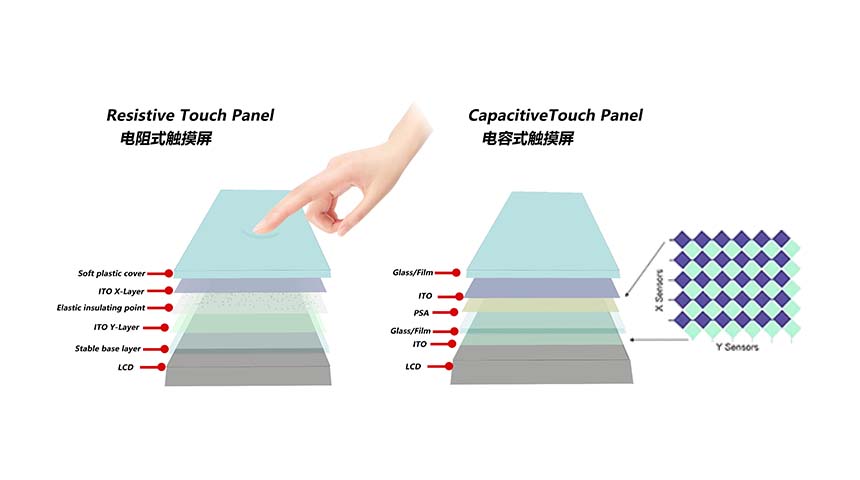
Capacitive Touch Panel or Resistive: Which Suits Your Needs?
-
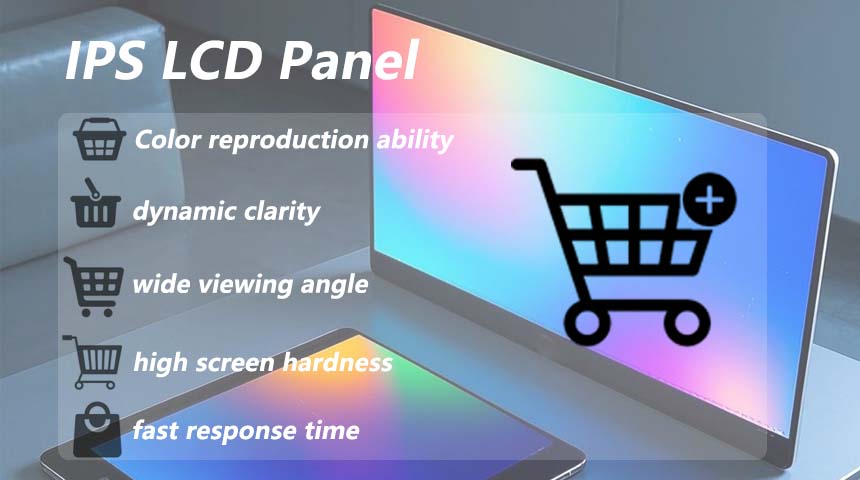
Why Choose an IPS LCD Panel for Your Next Screen Purchase?
-
CDTECH to Showcase Cutting-Edge Display Solutions at SID 2025
-
Comparing Different Types of Displays in Cars: A Detailed Overview
-

White Spots on LCD Screen: Causes, Fixes & Industrial Solutions (2026 Guide)