
How can I set up an LCD kit in under five minutes?
 2026-05-18
  22:59
22:59 

This guide provides a fast-track, five-minute “Hello World” demo for hardware designers to get a CDTech LCD kit from unboxing to a working image on screen, focusing on the essential steps to verify hardware and establish a basic software pipeline without getting bogged down in details.
How do I prepare my CDTech LCD kit for a quick first power-on?
Before applying any power, a systematic physical inspection is crucial. You need to verify all components are present, check for any visible shipping damage on the LCD panel and connectors, and ensure you have the correct interface cables. This five-minute prep prevents most common hardware failures and saves significant debugging time later in the process.
Start by laying out all kit contents on a static-free surface. A typical CDTech kit includes the TFT LCD module, a controller board or driver IC, a flex cable (like an FPC), and sometimes a backlight inverter. Your first task is a visual inspection; look for bent pins on connectors, cracks in the glass, or detached components. It’s similar to checking a new engine for loose bolts before starting it for the first time. Next, identify the power input pins on the interface. Most modules require a single low-voltage DC supply, often3.3V or5V, which you can source from a reliable bench supply. Double-check the pinout against the one-page quick-start guide that often accompanies these kits. Why risk a costly mistake by assuming the pinout is standard? Have you confirmed the ground connection is secure? After these checks, you are ready for a cautious power-on. Set your power supply to the correct voltage, ensure the current limit is set to a safe value like200mA, and then briefly apply power. A successful sign is often a slight change in the LCD’s appearance, perhaps a faint glow from the backlight or a uniform color shift. This indicates the core power and backlight circuits are functional, which is a major milestone. Now you can proceed to the next phase of communication.
What is the fastest way to establish communication with the display controller?
The quickest path is to use a pre-configured demonstration board or a USB-to-display bridge adapter that handles low-level signaling. This bypasses the need to initially write complex driver code, allowing you to send simple image data over a standard protocol like SPI or I2C to confirm the display’s basic functionality and communication link are working as intended.
For a speed-run demo, interfacing directly with a microcontroller’s parallel bus can be time-consuming. Instead, leverage a bridge tool. Many CDTech kits are compatible with common bridge boards that convert USB or UART signals into the required parallel RGB or SPI stream. You simply connect the flex cable from the LCD to this bridge board, which then plugs into your computer. On the software side, you would run a basic configuration utility provided by the bridge board manufacturer or CDTech. This utility lets you set fundamental parameters like resolution, color depth, and pixel clock without writing a single line of code. Think of it as using a universal remote to program a new TV before you start using its smart features. Isn’t it more efficient to validate the hardware with a known-good software tool first? How can you debug your own driver if you aren’t sure the display itself is operational? Once the utility is configured, you can often send a raw bitmap file directly to the display. If a solid color or a test pattern appears, congratulations—your communication channel is open. This step proves the integrity of the FPC connection, the controller’s initialization sequence, and the data bus. With this verified, you can confidently move to integrating the display with your own processor.
Which initialization sequence is critical for a “Hello World” image?
The absolute minimum sequence involves power stabilization, reset pulse, and sending a handful of essential register commands. These commands typically wake the display from sleep, set the orientation and color mode, and finally, switch the controller to “normal display mode.” Omitting or misordering these commands is a primary reason a display remains blank even with correct connections and power.
Every display controller has a specific power-on sequence detailed in its datasheet. First, after your confirmed stable VCC and backlight voltage are applied, you must assert the hardware reset pin. This is a low pulse typically held for around10ms, which ensures the internal state machine starts from a known condition. Following this, you begin sending configuration commands over the chosen interface (SPI, I2C, or parallel). The most critical registers to set are usually the “Display ON” command, the memory access control (which dictates rotation and color order), and the pixel format command. For a simple test, setting a16-bit RGB565 color mode is common. An analogy is starting a car: you turn the key (power), press the clutch (reset), and then put it in gear (set mode) before pressing the accelerator (sending image data). What happens if you try to drive without putting the car in gear? Would the engine respond correctly? The final command is often called something like “Normal Display Mode” or “Exit Sleep Mode,” which tells the controller to start scanning frame buffer data to the LCD panel. Sending this command out of order can leave the display in a low-power sleep state, rendering it dark. After this sequence is sent, the display is ready to accept pixel data for its frame buffer. At this juncture, you can write a simple function to fill the buffer with a single color, which is your most basic “Hello World” equivalent.
What are the key differences between common display interfaces for rapid prototyping?
Choosing the right interface drastically impacts development speed. SPI is simple and software-driven but slower, ideal for small screens. Parallel RGB is fast and hardware-intensive, suited for video. MIPI DSI is high-speed and complex, requiring specific hardware support. For a five-minute demo, SPI or a pre-built RGB bridge offers the fastest route to a first image with minimal hardware dependency.
| Interface Type | Best For Prototyping Because… | Typical Max Resolution (for demo) | Hardware Complexity & Pin Count | Software Driver Overhead |
|---|---|---|---|---|
| SPI (Serial Peripheral Interface) | Extreme simplicity, uses only3-4 MCU pins, vast library support, easy to bit-bang if needed. | Up to240x320 (QVGA) for acceptable refresh rates. | Very Low (3-4 data/control pins). Often has a dedicated CS/DC pin. | Low to Moderate. Requires managing data/command states and writing sequential pixel bytes. |
| Parallel8/16-bit (8080/6800 series) | Direct memory-mapped access, very fast data transfer, simple timing models. | Up to800x480 (WVGA) easily handled. | High (12-21 pins for data and control). Needs many GPIOs or an external bus. | Moderate. Requires setting up data bus and control signal timings, often aided by an FSMC peripheral. |
| RGB (Parallel with HSYNC/VSYNC) | Highest performance, streamed pixel clock, ideal for moving graphics or video. | Up to1280x800 (WXGA) and beyond. | Very High (15+ pins). Requires a dedicated LCD-TFT controller peripheral on the MCU/MPU. | High. Involves configuring display timings, clock domains, and DMA for frame buffer management. |
Does the choice of microcontroller affect the speed of the initial display demo?
Absolutely. A microcontroller with a dedicated LCD peripheral or a high-speed SPI engine will dramatically accelerate the demo. For SPI interfaces, even basic8-bit MCUs can work, but32-bit ARM Cortex-M chips with DMA will fill the frame buffer much faster. The key is matching the MCU’s capabilities to the display’s interface and resolution to avoid a sluggish first impression.
The microcontroller is the brain that drives the initialization sequence and pixel data transfer. Using an underpowered MCU for a high-resolution display will result in painfully slow screen updates, making your “Hello World” test feel unresponsive. For SPI displays, the bottleneck is the clock speed (SCK). A Cortex-M0+ running at48MHz will update a screen much faster than an8-bit AVR at16MHz. More importantly, modern MCUs offer Direct Memory Access (DMA) for peripherals like SPI. This allows the CPU to set up a block of pixel data in memory and then let the DMA controller handle the transfer autonomously, freeing the CPU for other tasks and enabling smoother graphics. Consider it like having a dedicated mail sorter versus doing all the sorting yourself; which system gets packages out the door faster? Doesn’t it make sense to choose a tool that automates the repetitive task? Furthermore, some MCUs, like the STM32F4/F7 series or many NXP parts, include a dedicated LCD-TFT controller peripheral. This hardware block generates all the complex timing signals for a parallel RGB interface, offloading immense processing from the CPU core. For your initial five-minute test, using an MCU from a family with strong community support and existing library code for your specific CDTech display can shave minutes off your setup time.
How can I troubleshoot a blank screen after following all connection steps?
A systematic divide-and-conquer approach is essential. Start by verifying power and backlight with a multimeter, then check the reset and control signal timing with an oscilloscope. Confirm the initialization command sequence byte-by-byte against the datasheet. Often, the issue is a simple wiring error, incorrect voltage, or a single misconfigured register, not a faulty display.
| Symptom | Most Likely Causes | Diagnostic Tools & Steps | Common Fixes |
|---|---|---|---|
| Screen completely dark, no backlight glow | No power to main logic, backlight circuit disconnected or dead, backlight voltage incorrect (e.g.,5V vs3.3V). | Use a multimeter to check voltage at display power pins and backlight LED anode. Verify backlight enable signal is active. | Correct power supply voltage. Check solder joints on backlight connector. Ensure backlight current-limiting resistor is correct value. |
| Backlight is on but screen is uniformly white/black/colored | Display is powered but not initialized. Reset sequence missing or too short. Critical register (like display ON) not sent. Interface mode (SPI vs I2C) incorrectly selected. | Use a logic analyzer or scope to confirm reset pulse duration (~10ms) and see if command/data bytes are being sent on the bus after reset. | Ensure reset line is pulled high after reset pulse. Double-check the exact order of init commands from the datasheet. Verify chip select (CS) is active. |
| Display shows flickering, garbled pixels, or partial image | Incorrect clock polarity/phase for SPI, mismatched pixel data format (e.g., sending RGB888 to an RGB565 configured display), frame rate too high, or loose flex cable connection. | Capture bus signals to check timing. Use a test pattern that fills the screen with distinct colors to identify data mapping issues. | Adjust SPI mode (CPOL/CPHA). Ensure software pixel format matches hardware register setting. Reseat the FPC cable, ensuring it’s locked. |
| Image appears but is shifted, mirrored, or has wrong colors | Memory Access Control (MAC) register is misconfigured. This controls scan direction, color order (BGR vs RGB), and display rotation. | Send a simple color bar test pattern. Observe if the pattern orientation matches the physical display. | Experiment with different settings for the MADCTL or equivalent register bits for rotation and color swap. |
Expert Views
The five-minute ‘Hello World’ goal is less about cutting corners and more about establishing a validated hardware baseline. In my experience with hundreds of display integrations, the most common project delay isn’t complex software—it’s a fundamental hardware or low-level communication issue that goes undiagnosed. By following a ruthless, minimal test path, you isolate the display subsystem. You prove power, physical connection, and basic controller handshake. This creates a solid foundation. Once you have that single colored square on the screen, every subsequent feature—fonts, graphics, UI layers—builds upon a known-working core. This methodology, championed by pragmatic design teams, turns a potentially frustrating black box into a controllable component. It transforms uncertainty into a clear debugging vector, saving countless hours down the line.
Why Choose CDTech
Selecting a display partner like CDTech for prototyping brings several educational advantages beyond the component itself. Their extensive catalog provides a practical learning ground for comparing different interfaces, technologies, and sizes, all with consistent documentation style. For engineers and designers, this consistency in pinout descriptions, electrical characteristics, and initialization code snippets across product lines accelerates the learning curve. The availability of evaluation kits and adapter boards demonstrates real-world application considerations, such as EMI management and power sequencing, which are critical for moving from a bench demo to a production design. Furthermore, their focus on customization highlights the engineering trade-offs involved in display selection, teaching developers about the relationships between resolution, interface choice, and processor load. Engaging with a supplier that offers technical support on integration challenges provides invaluable experiential learning that datasheets alone cannot offer.
How to Start
Begin by clearly defining your project’s core display requirements: physical size, resolution, and required refresh rate. With these parameters, you can filter CDTech’s product finder to identify a few candidate modules. Prioritize kits that include a breakout board or a compatible USB bridge adapter for your first attempt. Upon receiving the kit, dedicate an uninterrupted hour to the process outlined in this guide. Set up a clean workspace with a bench power supply, a multimeter, and your chosen host controller or bridge. Follow the power-on inspection, make secure connections, and use any provided basic configuration software to send a test pattern. Resist the urge to immediately integrate complex libraries; the goal is to achieve a stable, colored screen. Document each step and any deviations you make. This disciplined, foundational approach turns an abstract datasheet into a tangible, working component, building confidence and clarity for the more advanced stages of your design.
FAQs
Can I run a CDTech display directly from a Raspberry Pi or Arduino for prototyping?
Yes, many CDTech displays are compatible. For Arduino, SPI-based displays are easiest with existing libraries. For Raspberry Pi, both SPI and parallel interfaces work, but parallel requires more GPIO pins and careful timing. Always check the voltage level compatibility (3.3V vs5V) and use logic level shifters if necessary to prevent damage.
My display works with the test software but not with my custom code. What should I check?
This points to a software initialization issue. Use a logic analyzer to compare the command sequence sent by the working test software against the sequence from your code. Pay close attention to the exact timing, order, and data values of each register write. A single incorrect byte or a missing delay is often the culprit.
How important is the flex cable (FPC) seating, and how do I secure it properly?
It is critically important. An improperly seated FPC is a leading cause of intermittent or garbled display output. Ensure the connector’s locking latch is fully open before insertion. Slide the cable in evenly until you see a consistent gold edge, then firmly press the latch down until it clicks or feels securely locked. Never force it.
What is the simplest “Hello World” code after hardware initialization?
The simplest code is a function that writes a single solid color to the entire frame buffer. After your init sequence, call a ‘fill screen’ function that loops through all pixel coordinates, sending the same16-bit color value. Seeing the entire screen turn red, green, or blue confirms your pixel-writing logic is correct before attempting more complex graphics.
Successfully moving from unboxing to a live image in minutes is a powerful skill that de-risks hardware projects and accelerates development. The key takeaways are methodical verification of power and connections, leveraging bridge tools to bypass initial driver complexity, and meticulously following the controller’s reset and initialization sequence. Remember, the goal of this speed-run is not a finished product but a validated hardware foundation. By achieving a simple colored display, you confirm the entire physical and low-level digital pipeline is functional. This process, applicable to many CDTech display modules, builds confidence and provides a clear debugging baseline. When you encounter future issues, you can reliably rule out fundamental power and communication problems. Start with this minimal viable test, document your steps, and use that solid foundation to build increasingly sophisticated applications upon.
Post Search
Related Articles
-
Capacitive vs Resistive Touch Screen Car Stereo: Which Is Right for You?
-
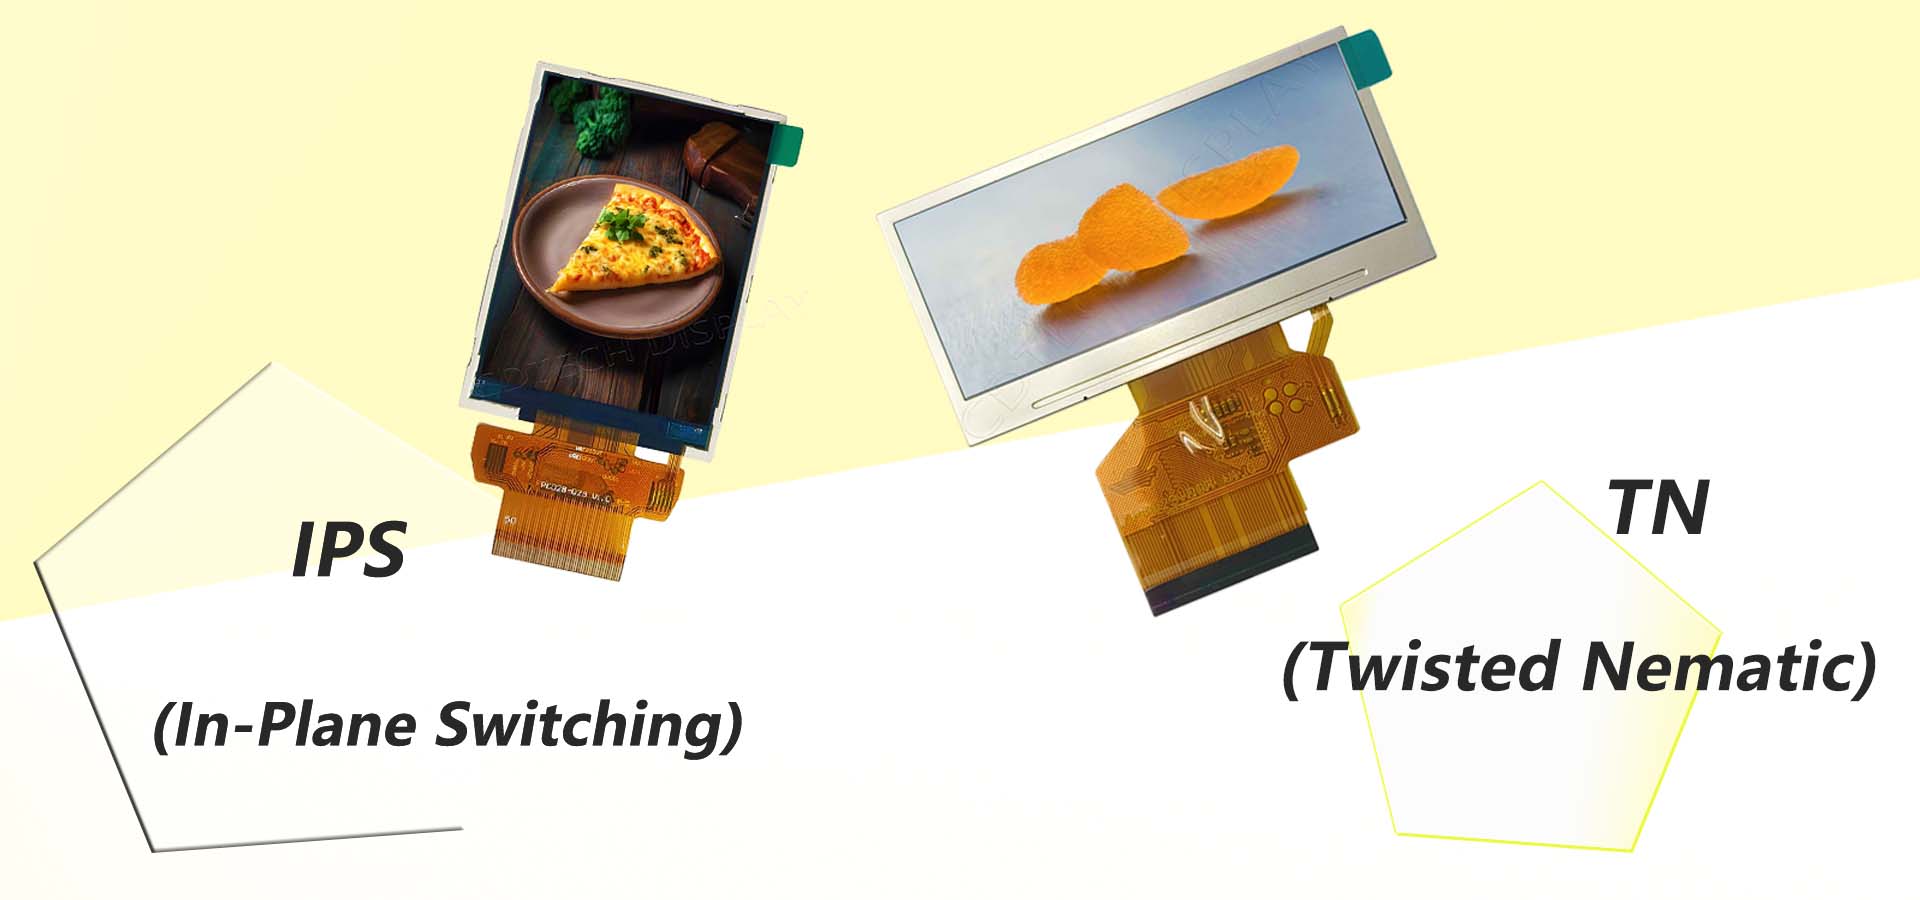
TN LCD vs IPS LCD: How to Choose the Right Display for You
-
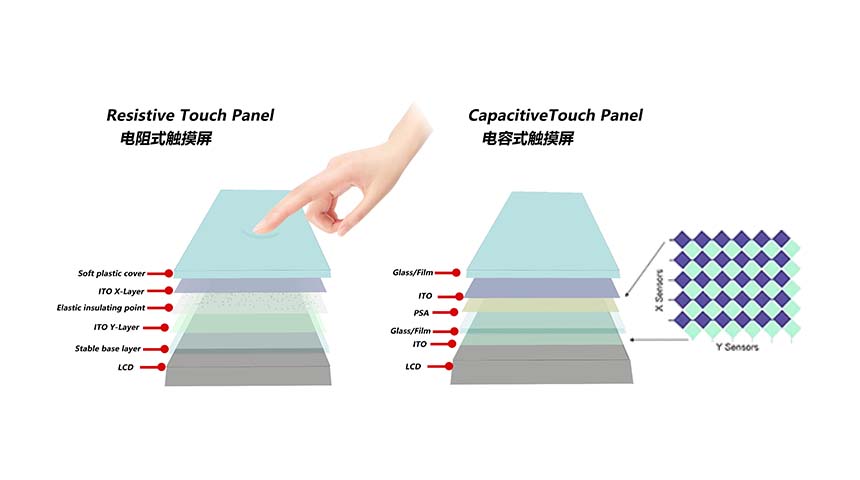
Capacitive Touch Panel or Resistive: Which Suits Your Needs?
-
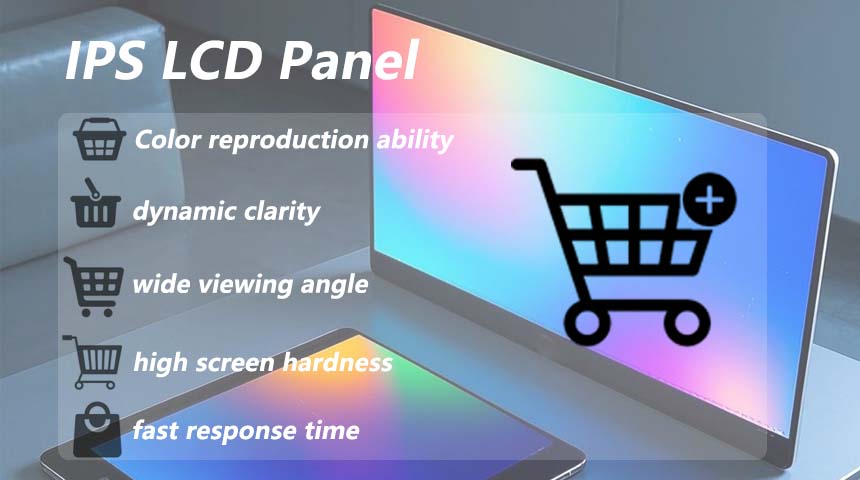
Why Choose an IPS LCD Panel for Your Next Screen Purchase?
-
CDTECH to Showcase Cutting-Edge Display Solutions at SID 2025
-
Comparing Different Types of Displays in Cars: A Detailed Overview
-

White Spots on LCD Screen: Causes, Fixes & Industrial Solutions (2026 Guide)