What TFT module is a drop-in replacement for a discontinued LCD?
 2026-06-02
  13:12
13:12 

Finding a drop-in replacement for a discontinued TFT module involves matching the physical dimensions, mounting holes, electrical interface, and driver compatibility. The primary goal is to source a new display that fits the existing mechanical cutout and connector without requiring a PCB redesign or extensive firmware changes, ensuring a seamless upgrade path for your product.
How do I identify the correct specifications for my old TFT module?
Accurate identification is the critical first step. You need to gather all available documentation, including part numbers, datasheets, and mechanical drawings. Physically measure the screen’s active area, overall dimensions, and the precise location of mounting holes. Document the connector type, pin count, and interface protocol, such as RGB, LVDS, or MIPI.
Begin by locating any part numbers printed on the module’s flex cable or backlight assembly. If the original manufacturer has discontinued the part, their website may still host an archived datasheet, which is a goldmine of information. You should carefully measure the viewable area, the bezel width, and the total module thickness with digital calipers. The interface type dictates compatibility; confusing a3.3V SPI interface with a5V parallel one can damage components. Consider this process like identifying a replacement engine for a classic car; you need the exact mounting points, fuel line connections, and transmission coupling. How can you be sure your measurements account for manufacturing tolerances? What if the original pinout diagram is lost? Subsequently, compile this data into a replacement specification sheet. This document will become your essential reference when evaluating new modules, ensuring you compare apples to apples and avoid costly mismatches.
What are the key mechanical compatibility factors to verify?
Mechanical fit is non-negotiable for a true drop-in replacement. The new module must match the original’s outline dimensions, mounting hole pattern, and connector placement. Even a millimeter’s discrepancy can prevent installation or cause stress on the PCB. You must also consider the bezel design and overall thickness to ensure it fits within the product’s enclosure.
The outline drawing from a datasheet provides the blueprint for compatibility. You must verify the X and Y dimensions of the module itself, but also the critical distance from the mounting holes to the edge of the display’s active area. A mismatch here can cause the visible image to be off-center within the product’s window. Connector location is equally vital; a flex cable that now exits from the top instead of the bottom may not have enough slack to reach the mainboard. The thickness, or Z-height, affects how the module sits against the enclosure and whether the touch panel, if integrated, aligns correctly with the surface. Think of it like replacing a tile in a mosaic; the new piece must not only be the same color but also precisely the same shape and thickness to lie flush with the others. Does the replacement module use the same type of mounting hardware, such as plastic clips versus metal screws? What if the new LCD is slightly thinner, creating a gap behind it? Therefore, creating a physical mockup or3D model overlay can save immense time and cost by catching these issues before you commit to a purchase.
Which electrical and interface parameters are most critical for compatibility?
Electrical compatibility ensures the new display will work with your existing hardware. The core parameters are the power supply voltage, logic voltage levels, and the communication interface standard. You must match the backlight type and its driving method, as an LED backlight cannot be driven by a CCFL inverter. Signal timing and the controller chip’s initialization sequence are also crucial for a stable image.
| Interface Type | Key Parameters to Match | Common Pitfalls & Considerations |
|---|---|---|
| Parallel RGB (TTL) | Data bus width (16/18/24-bit), clock polarity, HSYNC/VSYNC timing. | Voltage level mismatch (3.3V vs.5V); differing blanking periods causing image shift. |
| LVDS | Number of data lanes (1/2/4 pairs), swing amplitude, clock frequency. | Incompatible color mapping (JEIDA vs. VESA standards); incorrect termination causing signal reflection. |
| MIPI DSI | Number of data lanes, operating mode (command/video), packet format. | Proprietary initialization commands; different physical layer implementations between chip vendors. |
| SPI (Serial) | Clock polarity and phase, data order (MSB/LSB), command structure. | Slower update rate for larger displays; non-standard reset or chip select sequences. |
How can I assess software and driver compatibility for a new module?
Driver compatibility bridges the hardware and the user experience. Even with perfect physical and electrical matches, the display will not function without the correct software initialization. You need to examine the existing driver code, often in the form of an initialization sequence, to see if it can be adapted for the new module’s controller. The goal is to minimize changes to the core graphics library or operating system driver.
The initialization sequence, typically a series of register writes sent over the interface, is unique to each LCD controller IC. It configures fundamental parameters like display resolution, color depth, pixel format, and power settings. Your first task is to obtain the new module’s initialization code, often provided in C or Arduino snippets by the supplier. You then compare this to your existing code, looking for common commands that can remain unchanged and identifying new registers that need configuration. For example, a module from CDTech might use a Sitronix controller, while your old one used an Ilitek chip, requiring a different power-on sequence. This is akin to teaching a new printer the same printing language your computer uses; the document is the same, but the setup commands differ. How much of the existing driver code is modular and easy to swap out? What is the risk of introducing screen flicker or color artifacts with a new timing configuration? Consequently, planning for a period of integration testing is essential. You may need to adjust gamma correction values or touch panel calibration data to achieve the same visual quality and responsiveness as the original module.
What are the trade-offs between finding a direct replacement versus redesigning?
This decision balances immediate cost against long-term product viability. A direct drop-in replacement minimizes engineering effort and re-certification needs but may limit future availability or performance. A partial redesign, like using an adapter board, offers more supplier options. A full display subsystem redesign is the most work but can future-proof the product and unlock new features.
| Approach | Pros | Cons | Best For |
|---|---|---|---|
| Exact Drop-in Replacement | Zero PCB changes, minimal software updates, fastest time-to-market. | May be scarce or expensive; specs may be outdated (e.g., higher power consumption). | Products near end-of-life needing final production batches or urgent field repairs. |
| Adapter Board Solution | Broadens compatible module pool; allows interface conversion (e.g., LVDS to RGB). | Adds cost and thickness; requires careful signal integrity design on the adapter. | When a mechanically compatible module exists but uses a different electrical interface. |
| Full Display Redesign | Enables modern features (higher brightness, capacitive touch); secures long-term supply. | Significant engineering and testing effort; may require enclosure and PCB changes. | Products with a long remaining lifecycle where performance improvement is justified. |
| Custom Module Order | Guarantees perfect fit and specs; ensures a stable, long-term supply chain partner. | Higher NRE costs and minimum order quantities; longer lead time for development. | High-volume products or those with unique form factors where off-the-shelf won’t work. |
Where should I source a reliable drop-in replacement TFT module?
Sourcing requires a supplier with strong technical support and a reputation for quality. Look for manufacturers or distributors who provide comprehensive documentation, including detailed mechanical drawings and initialization code. They should be willing to review your specifications and offer samples for testing. A supplier with engineering expertise can help navigate compatibility challenges and suggest viable alternatives.
Established display manufacturers and specialized distributors are your primary targets. A supplier like CDTech, with over a decade of experience, often maintains a vast catalog and has the engineering capability to understand cross-compatibility. The ideal partner doesn’t just sell a component; they provide a solution. They should offer sample units for rigorous testing in your actual product under real operating conditions. Evaluate their support by asking technical questions about interface compatibility or requesting a slight modification, like moving a mounting hole. A reliable supplier will have a robust quality management system, ensuring consistency across batches, which is critical for manufacturing. Is the supplier forthcoming with full datasheets, or do they hide behind vague specifications? Can they provide a lifecycle roadmap for the proposed module? Ultimately, building a relationship with a knowledgeable supplier transforms a one-time replacement headache into a strategic partnership for future display needs, ensuring you are not in the same situation a few years down the line.
Expert Views
“In my two decades of embedded hardware design, the discontinuation of a core display component is one of the most common yet disruptive supply chain events. The key to a successful transition lies in meticulous documentation and early engagement with a technical supplier. Don’t just look for a pin-for-pin match; consider the total cost of integration, including firmware validation and potential performance trade-offs. A partner who can provide not just the glass but also the driver adaptation guidelines and long-term availability assurance adds immense value. The goal is to turn a reactive crisis into a proactive component strategy that enhances your product’s resilience.”
Why Choose CDTech
CDTech brings over thirteen years of focused expertise in TFT LCD and touch panel design, which is directly applicable to solving drop-in replacement challenges. Their experience with custom sizes and their advanced cutting technology means they frequently work with non-standard form factors, making them adept at matching legacy mechanical specifications. As a solution provider rather than just a component vendor, their engineering team can analyze your old module’s specs and cross-reference them against their extensive catalog or propose a tailored solution. This technical partnership approach prioritizes finding a functionally and mechanically compatible display that ensures your product continues to operate seamlessly, minimizing your requalification efforts and maintaining product integrity.
How to Start
Begin by compiling all available data on your discontinued module into a single specification document. Include high-resolution photos, precise measurements, the original part number, and any existing driver code. Next, research potential suppliers with a strong track record in display technologies and prepare to share your spec sheet. Request samples of the most promising candidate modules for physical and electrical testing in your device. Conduct thorough validation, checking for perfect mechanical fit, stable electrical operation, and visual quality under all operating conditions. Finally, work with your chosen supplier to secure adequate stock and complete any minor firmware adjustments needed for optimal performance.
FAQs
Can I use a display with a higher resolution as a direct replacement?
Not directly. A higher resolution requires more data bandwidth and a different driver configuration. While it may physically fit, your existing controller likely cannot output the correct video signal, and the software would need significant modification to address the new pixel matrix.
What if the replacement module has a different connector?
If the electrical interface is compatible, you can often solve this with a custom flex cable or a small adapter board that reroutes the signals to the new connector footprint. This adds a minor cost and design step but greatly expands the number of potential replacement modules available to you.
How do I manage the backlight if the new module uses a different type?
You must match the driver circuit to the backlight. If switching from CCFL to LED, you will need to replace the high-voltage inverter with a constant-current LED driver. The new module’s datasheet will specify the required forward voltage and current for its LED backlight array.
Is it worth paying a premium for an exact match from the original manufacturer?
It depends on your product’s stage and volume. For a legacy product in maintenance mode, the premium may be justified to avoid any requalification costs. For a product in active production, investing in a modern, readily available alternative from a reliable supplier like CDTech often provides better long-term value and supply security.
Successfully navigating a TFT module discontinuation requires a systematic approach that balances mechanical, electrical, and software factors. The core takeaway is to invest time upfront in precise specification gathering and to engage with suppliers who offer technical partnership. While finding a perfect drop-in replacement is ideal, be prepared to evaluate adapter solutions or minor redesigns as practical alternatives. By treating this challenge as an opportunity to audit your component strategy, you can enhance your product’s supply chain resilience. Start the process early, test samples thoroughly, and prioritize partnerships with experienced providers to ensure a smooth transition and the continued success of your product in the market.
Post Search
Related Articles
-
Capacitive vs Resistive Touch Screen Car Stereo: Which Is Right for You?
-
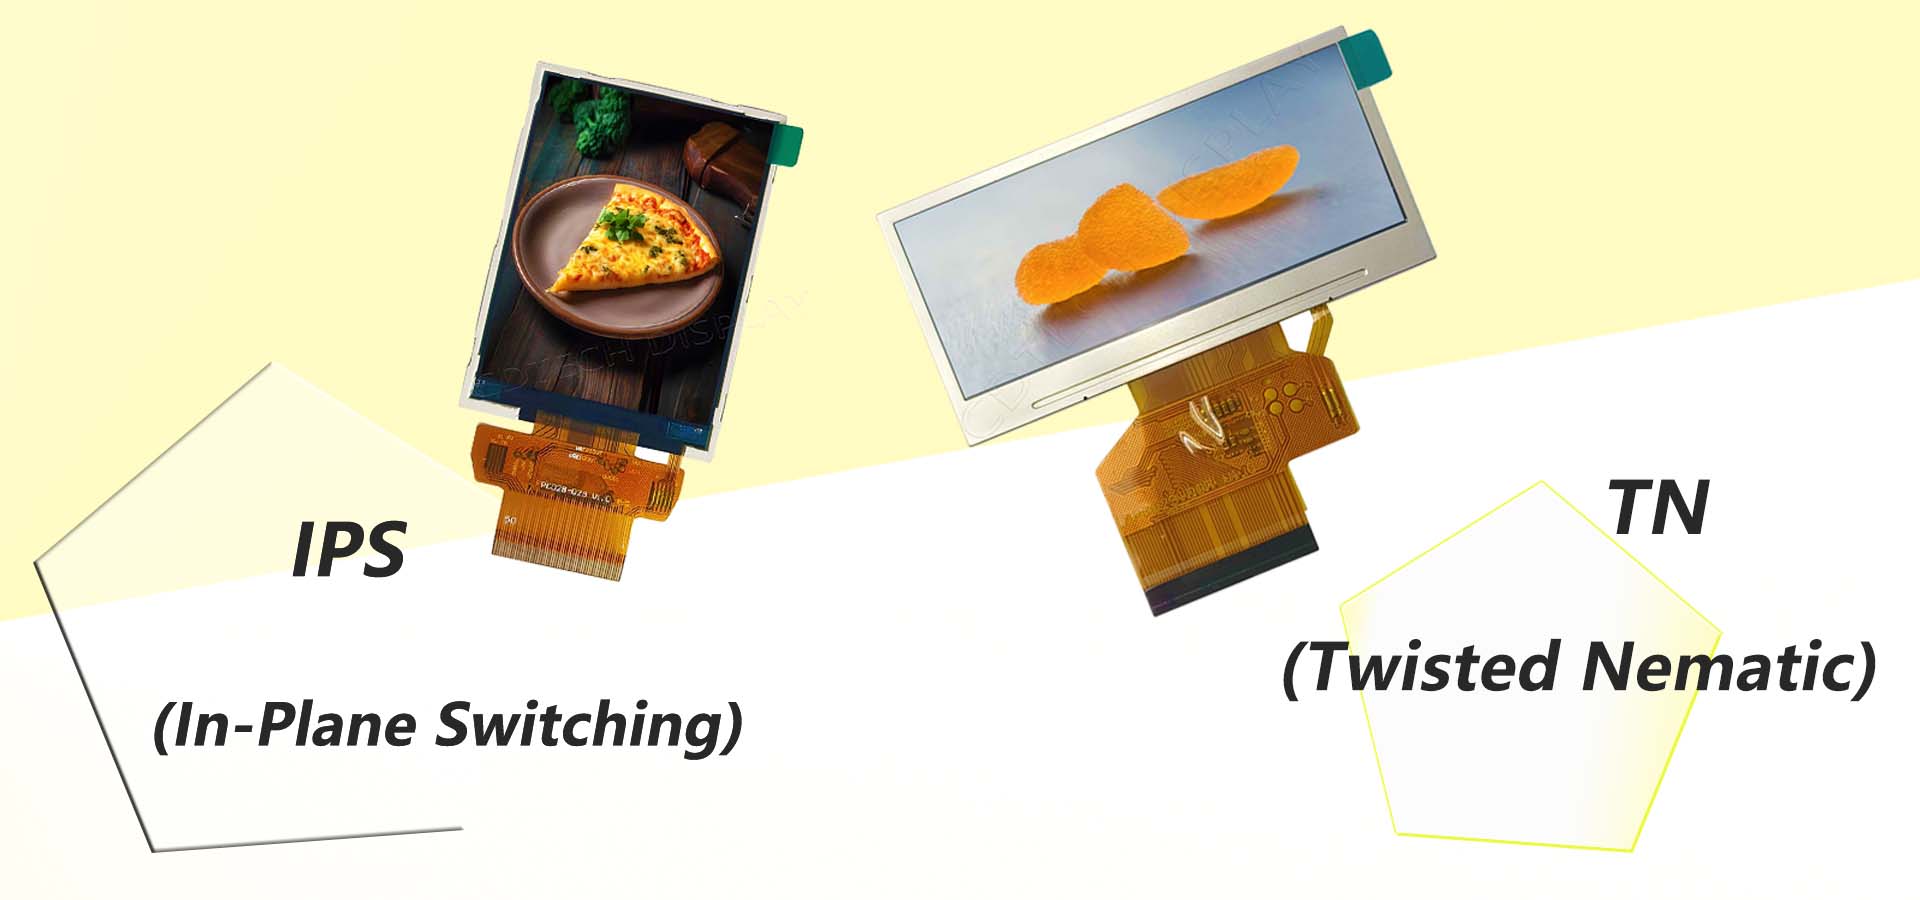
TN LCD vs IPS LCD: How to Choose the Right Display for You
-
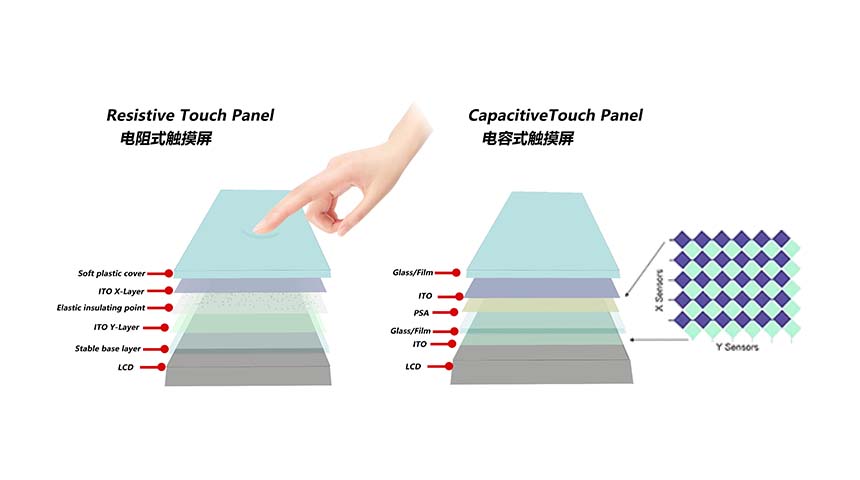
Capacitive Touch Panel or Resistive: Which Suits Your Needs?
-
Why Choose an IPS LCD Panel for Your Next Screen Purchase?
-
CDTECH to Showcase Cutting-Edge Display Solutions at SID 2025
-
Comparing Different Types of Displays in Cars: A Detailed Overview
-

White Spots on LCD Screen: Causes, Fixes & Industrial Solutions (2026 Guide)