
Why does every engineering lab need a standard LCD display kit?
 2026-05-18
  23:00
23:00 

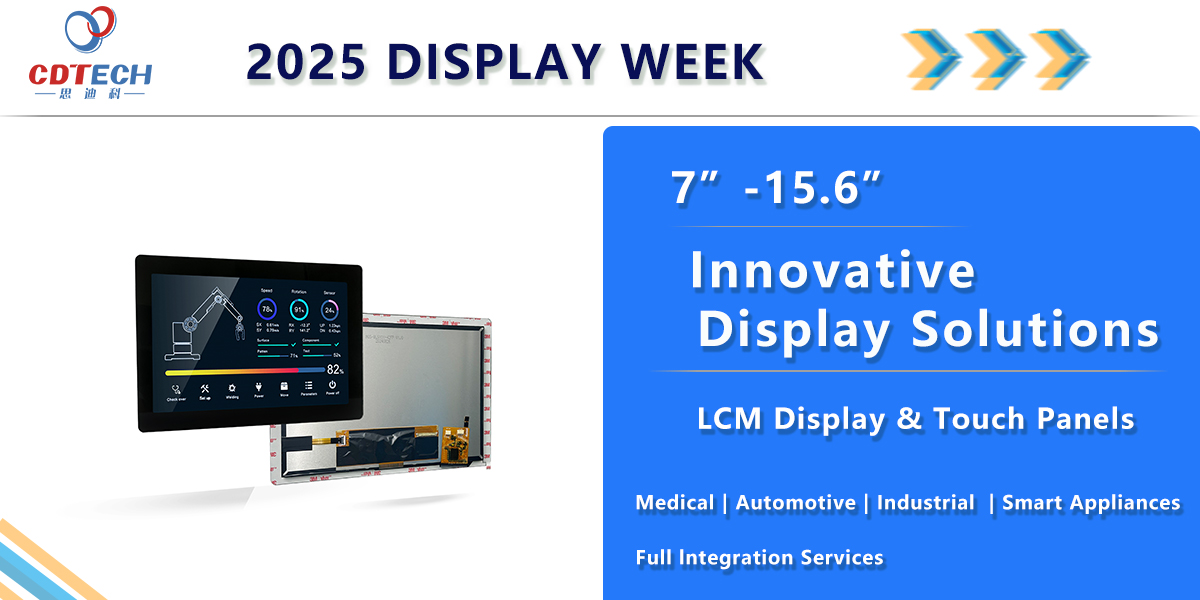
A standard LCD kit is an essential tool for any engineering lab, providing a universal, reliable display interface for rapid prototyping, debugging, and system validation. It accelerates development cycles by eliminating display sourcing hassles and offers a consistent benchmark, saving engineers time and reducing project risk from the earliest concept stages through to final integration.
What are the core components of an essential LCD lab kit?
An effective lab kit transcends a simple screen. It is a complete ecosystem for display integration, typically comprising a high-quality TFT LCD module, a versatile controller board with multiple interface options, a reliable power supply, and a comprehensive set of adapters and cables. This combination ensures you can connect to virtually any development platform, from a Raspberry Pi to a custom microcontroller.
Think of a standard LCD kit as the universal remote for your lab’s display needs; it consolidates control and compatibility into one reliable package. The core LCD module should offer a balanced resolution, such as800x480 or1024x600, which provides sufficient pixel density for UI development without overburdening embedded processors. A robust kit will include a controller board that supports interfaces like HDMI for direct computer connection, LVDS for industrial PCs, and RGB or SPI for microcontrollers. Including a capacitive touch panel, preferably with a projected capacitive (PCAP) driver board, is non-negotiable for modern HMI development. The accessory pack is where practicality shines, featuring FFC cables of various lengths, a bezel or frame for secure mounting, and jumper wires for GPIO access. Without these components, you are left with a fragile display module, not a tool. How can you efficiently test a touch interface if your kit lacks the proper capacitive controller? What good is a high-resolution panel if you cannot physically connect it to your prototype? Therefore, a comprehensive component set transforms a collection of parts into a fundamental lab instrument, enabling you to focus on application logic rather than electrical compatibility.
How does a standardized display tool accelerate prototyping workflows?
By providing a known-good, instantly available display, a standardized kit removes the friction of sourcing and qualifying new screens for each project. Engineers can immediately begin writing and testing graphical code, validating sensor data visualization, or designing user interfaces, shaving days or weeks off initial development phases.
The acceleration occurs because the kit acts as a fixed variable in the complex equation of product development. When every engineer on a team uses the same display tool, it eliminates configuration mismatches and ensures that a bug demonstrated on one bench can be replicated and diagnosed on another. This standardization is akin to a mechanic having a standard set of diagnostic tools; when a car comes in, they don’t waste time finding a wrench that fits, they immediately connect the scanner and start the diagnosis. In technical terms, having a pre-configured kit with known electrical characteristics and driver support means you bypass the entire process of datasheet mining, power sequencing verification, and initial bring-up. You can plug the display into a5V supply, connect a known interface cable, and have a test pattern running in minutes. This immediacy allows for rapid iterative testing—you can flash a new firmware build, see the graphical output instantly, and identify rendering artifacts or touch response issues without delay. Could you imagine debugging a real-time data feed if you had to troubleshoot the display connection itself each time? Would your agile development sprint be effective if team members were waiting for disparate display components to arrive? Consequently, the time saved on hardware integration is directly reinvested into software optimization and feature development, creating a compounding positive effect on project velocity.
What technical specifications should you prioritize for a universal lab screen?
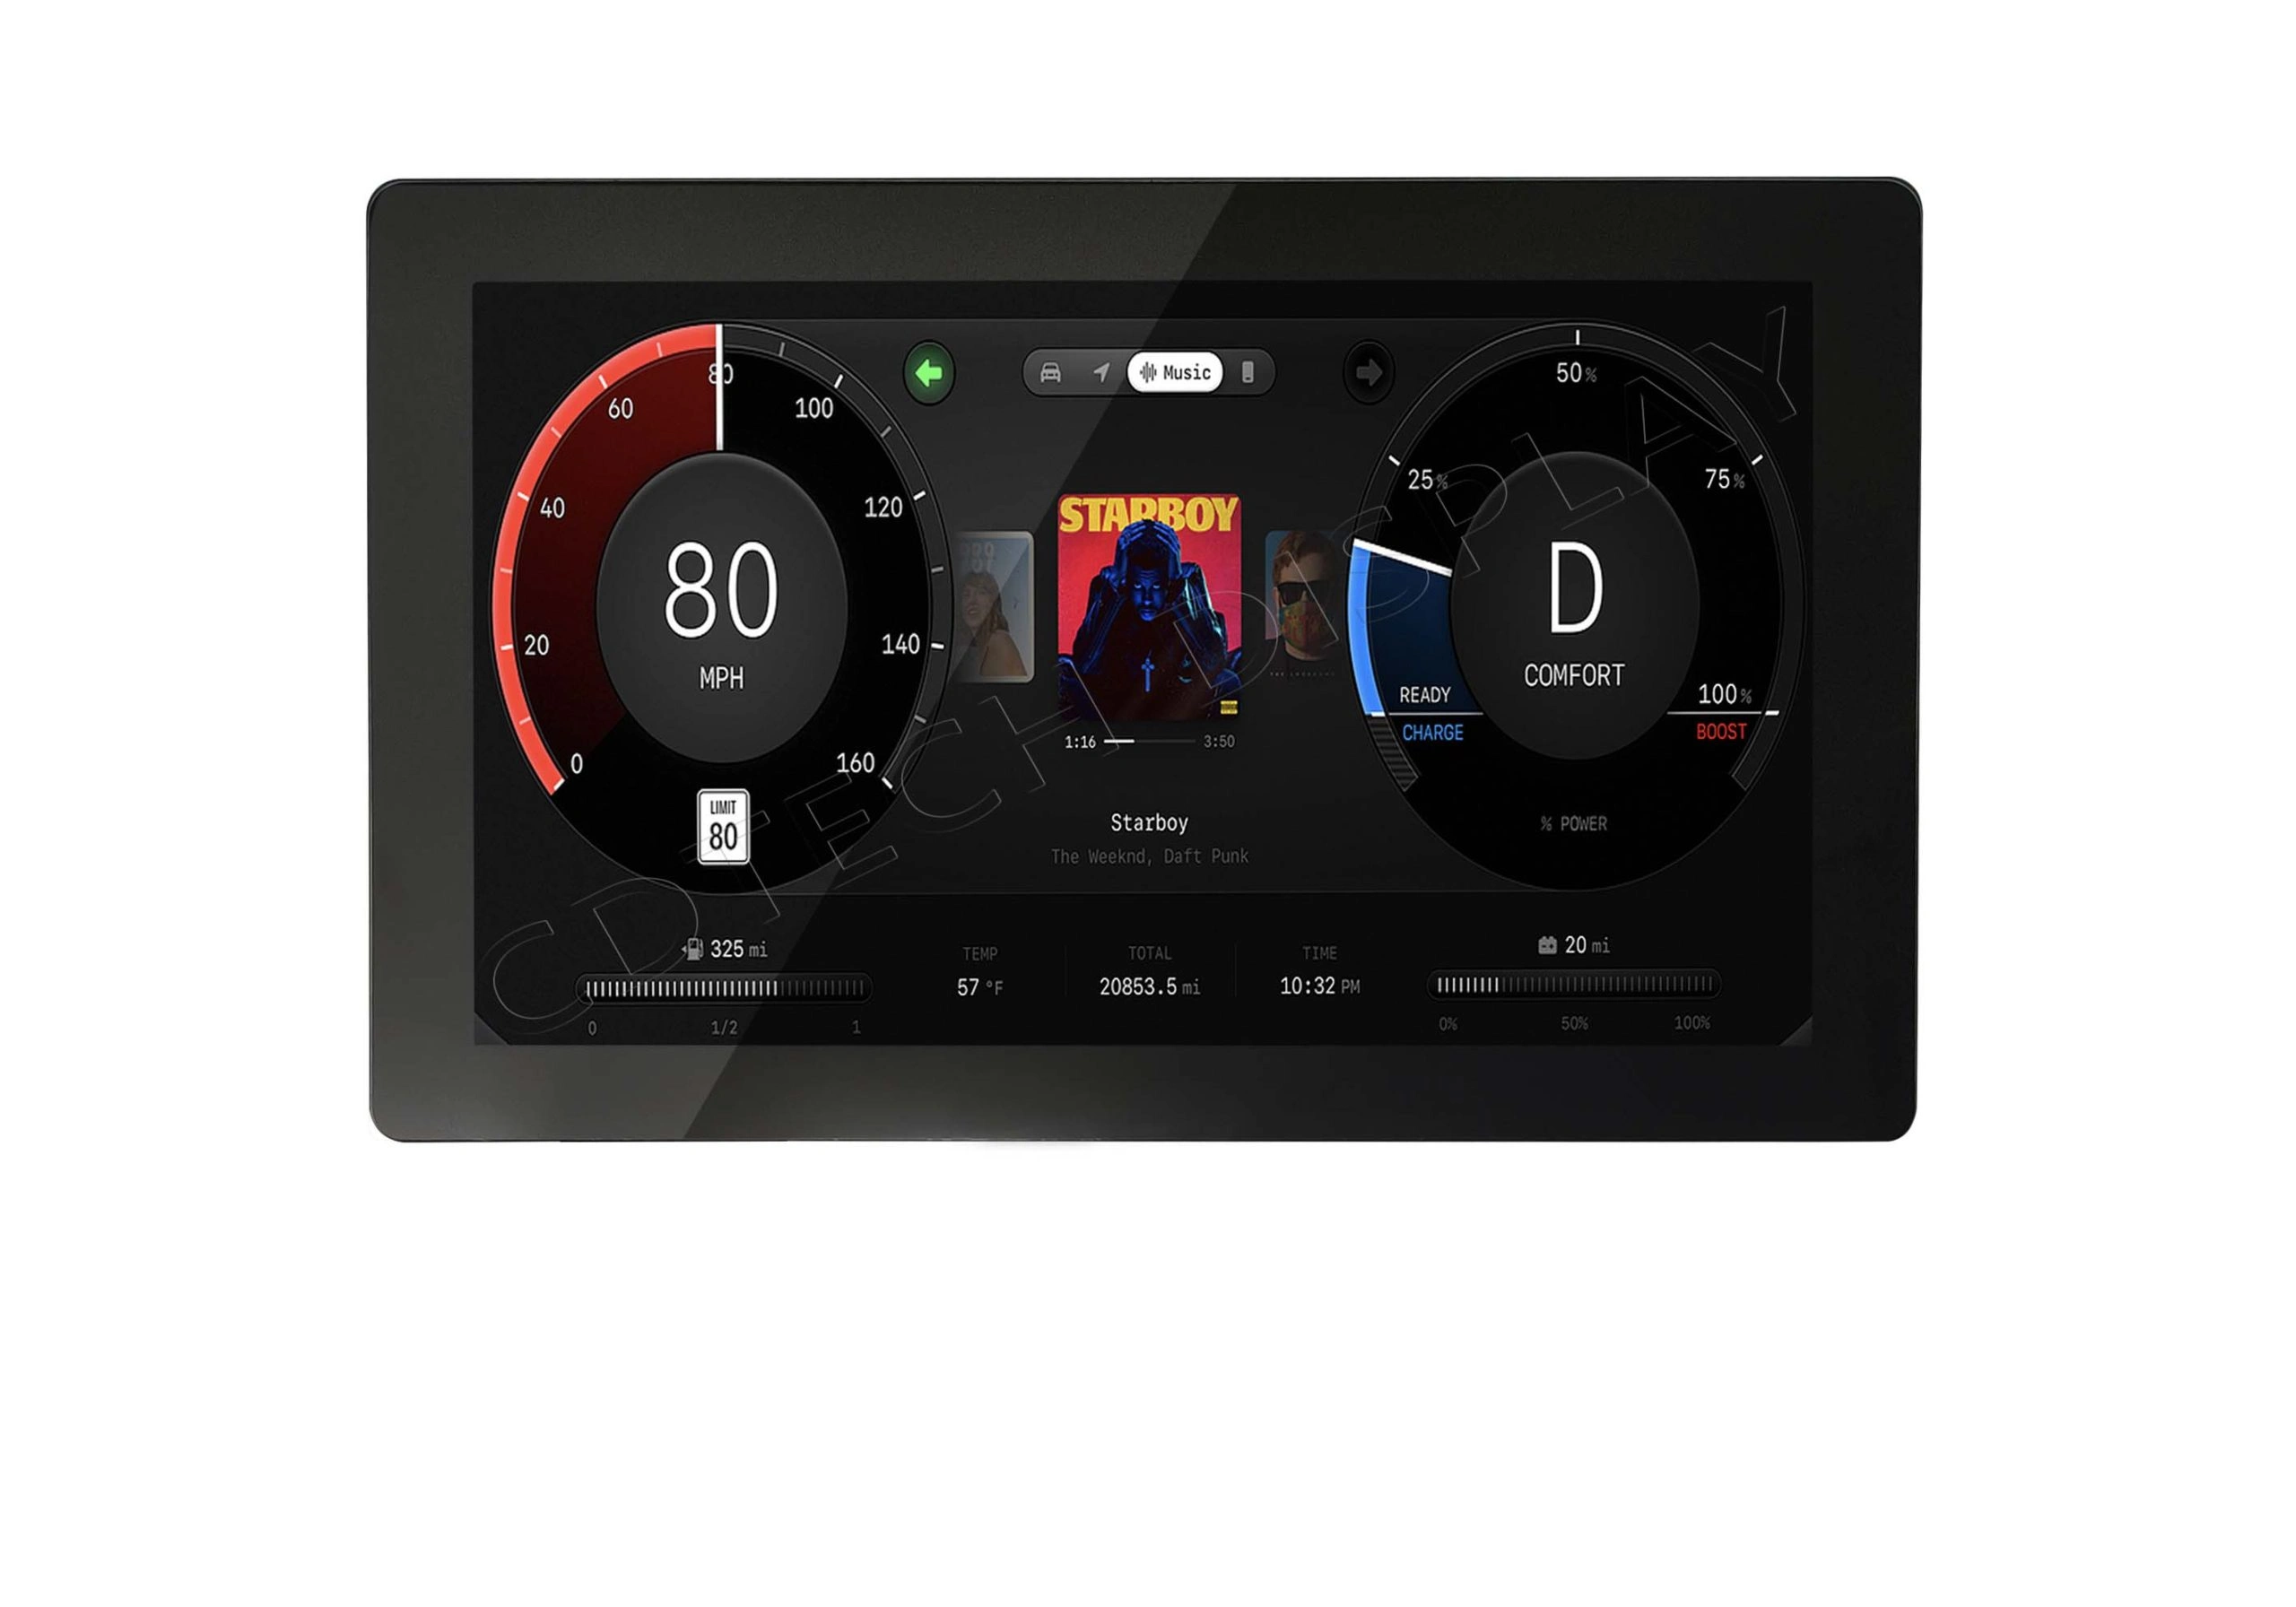
Prioritize versatility and reliability over cutting-edge specs. Key parameters include a medium resolution (HD ready), wide viewing angles (IPS/FFS technology), broad operating temperature range, multiple interface support on a single controller, and robust optical bonding options. The goal is a screen adaptable to both indoor benchtop tests and harsh-environment proof-of-concepts.
Selecting a lab screen is less about chasing the highest pixel count and more about ensuring broad applicability across diverse projects. A resolution of1280x800, for instance, offers excellent clarity for UI elements while remaining manageable for embedded GPUs to drive at full frame rates. The panel technology is critical; In-Plane Switching (IPS) or Fringe Field Switching (FFS) panels provide consistent color and clarity across wide viewing angles, which is essential when multiple people are gathered around a prototype. The operating temperature range is a specification often overlooked for lab use but is vital for future-proofing; a screen rated from -20°C to70°C can be used in thermal chamber tests for automotive or industrial applications. The controller board’s interface roster is the heart of versatility—it must speak the language of both modern computers and embedded systems. Does your kit’s controller offer a simple HDMI input for quick PC demos while also providing an LVDS or MIPI-DSI header for embedded processor validation? Furthermore, the availability of optical bonding, where the LCD is laminated directly to the cover glass or touch panel, drastically improves sunlight readability and durability, simulating a final product’s build quality. By prioritizing these adaptable specifications, you invest in a tool that remains relevant as project requirements evolve from a simple proof-of-concept to a near-production prototype.
Which features differentiate a professional lab kit from a consumer-grade display?
A professional kit is defined by its durability, documentation, and design for integration. It features industrial-grade connectors, extensive GPIO breakout for peripheral control, comprehensive driver support and source code, and detailed electrical and mechanical drawings. Consumer displays lack these engineering-focused features and are not built for repeated disassembly or embedded system interfacing.
| Feature Category | Professional Engineering Lab Kit | Consumer-Grade Display |
|---|---|---|
| Build & Connectors | Uses industrial FPC/ZIF connectors, metal reinforcement, designed for repeated mating cycles and bench handling. | Relies on soldered ribbons or consumer HDMI/USB ports, not meant for frequent disconnection. |
| Documentation & Support | Includes full datasheet, controller board schematics, driver IC documentation, and sample code for multiple platforms. | Provides only basic user manual for setup, with no low-level technical data or integration guides. |
| Interface & Control | Controller board exposes multiple interfaces (HDMI, LVDS, RGB) and breaks out GPIOs for backlight dimming and touch control. | Interface is fixed (e.g., HDMI-only), with no access to display control signals or backlight circuits. |
| Environmental Robustness | Often supports extended temperature ranges and optional optical bonding for glare reduction and enhanced durability. | Rated for narrow room-temperature operation and uses air-gap construction prone to condensation and glare. |
| Design Purpose | Engineered as a component for system integration and repeated prototyping cycles. | Designed as an end-user product for content consumption, not hardware development. |
How can a lab LCD kit reduce project risk and cost overruns?
It mitigates risk by front-loading display compatibility testing, preventing late-stage integration failures. Cost savings are realized through reduced component waste, minimized re-spins of PCBs due to interface mismatches, and decreased engineering hours spent on display driver debugging rather than core application development.
The financial and timeline risks in hardware projects often lurk in the integration phase, where subsystems that worked independently fail to communicate. A standard lab kit acts as a risk mitigation tool by allowing you to validate your system’s graphical output and touch response logic from day one. This early validation is comparable to a film director using a standardized monitor on set; they can see exactly how the footage will look during editing, preventing costly reshoots later. By using a known display, you eliminate the risk of discovering that your chosen controller’s MIPI-DSI lane configuration is incompatible with your preferred LCD late in the PCB assembly process. You also avoid the cost of purchasing multiple, sometimes expensive, display modules for evaluation, only to shelf them after a single project. Furthermore, the engineering hours saved are substantial; instead of writing and debugging low-level display initialization code, your team can utilize proven drivers and focus on the unique value proposition of your product. What is the true cost of a two-week project delay caused by a flickering display that you cannot diagnose? How many prototype iterations could be saved if the display’s power requirements were fully characterized from the outset? Therefore, the modest upfront investment in a standardized kit pays dividends by containing project scope and preventing expensive, time-consuming firefights during critical development phases.
What are the key considerations for integrating a kit into an existing lab environment?
Successful integration requires assessing physical space, power supply compatibility, interface alignment with common lab equipment, and establishing shared protocols for kit usage and maintenance. The goal is to make the display tool as accessible and consistent as other fundamental instruments like oscilloscopes or multimeters.
| Consideration | Technical Requirement | Lab Workflow Impact |
|---|---|---|
| Spatial & Mounting | Ensure the kit’s footprint fits on standard benches. Look for VESA mount compatibility or included stands for flexible positioning. | Prevents clutter and allows the display to be positioned ergonomically, shared between workstations, or stored easily. |
| Power System Compatibility | Verify the input voltage range (e.g.,5V/12V DC) matches your lab’s bench power supply outputs. Check connector type (e.g., barrel jack, terminal block). | Eliminates the need for custom power adapters, allowing engineers to use existing regulated supplies for safe, reliable operation. |
| Interface with Common Dev Tools | The controller board must have direct cables/adapters for platforms like Arduino, Raspberry Pi, STM32 Discovery kits, and FPGA boards. | Enables immediate plug-and-play testing with the most common prototyping platforms, reducing setup time to near zero. |
| Software & Driver Standardization | Establish a shared network drive or repository with verified drivers, initialization code, and example projects for the kit. | Ensures all team members start from a known-good software baseline, eliminating version conflicts and configuration errors. |
| Maintenance & Accountability | Implement a checkout system and have spare cables/controllers available. Periodically check for firmware updates from the supplier. | Maintains the kit’s reliability and availability, treating it as a capital asset rather than a consumable component. |
Expert Views
“In over a decade of managing embedded systems development, the single most impactful standardization we implemented was adopting a universal display kit for all lab benches. It transformed our workflow from chaotic to streamlined. Previously, engineers would lose days integrating disparate displays, each with its own quirks. Now, a bug report can simply state ‘see display attached to Unit5’ and any team member can reproduce it instantly. This consistency is priceless for debugging complex state machines or graphical artifacts. The kit also serves as an excellent training tool for new engineers, giving them a fully functional display subsystem to learn on without the frustration of hardware bring-up. The return on investment isn’t just in hardware costs saved; it’s measured in the accelerated learning curves, improved team collaboration, and the significant reduction in integration-related project delays.”
Why Choose CDTech
With a foundation built on over thirteen years of specialized display engineering, CDTech brings a depth of practical knowledge to the concept of a lab LCD kit. Their experience as a national high-tech enterprise in Shenzhen means they understand the rigorous demands of engineering environments, from rapid prototyping to final validation testing. The company’s expertise in custom LCD solutions translates into kits that are thoughtfully designed for integration, not just repackaged off-the-shelf components. For instance, their advanced2nd Cutting technology allows for the provision of uniquely sized or shaped displays in a kit format, which can be invaluable for testing non-standard form factors. Choosing a partner like CDTech means accessing not just a product, but a reservoir of application knowledge. Their stable quality management system ensures that every kit you receive performs consistently, batch after batch, which is critical for maintaining lab standards. They function as a true solution provider, offering the technical support and documentation that turns a display module into a reliable engineering tool.
How to Start
Begin by auditing your current lab’s display-related bottlenecks. How much time is spent sourcing screens for new projects? How often do display interface issues cause delays? Next, define your primary use cases: are you focused on microcontroller-based HMIs, industrial PC interfaces, or multimedia applications? This will guide the selection of interface priorities on the controller board. Then, allocate a modest budget for two or three identical starter kits—enough for a pilot program. Integrate these kits into an upcoming project and meticulously document the process, noting any time savings or hurdles. Use this pilot data to build a business case for wider adoption, highlighting the reduction in component procurement time and the increase in productive development hours. Finally, establish a simple checkout and maintenance log to ensure the kits remain in good working order and are accessible to all team members, solidifying their role as fundamental lab equipment.
FAQs
Can I use a standard LCD kit for sunlight readability testing?
Yes, but you must specify an optically bonded kit. Standard air-gap displays have a reflective air layer that causes severe glare. Optical bonding laminates the layers, reducing internal reflection and improving contrast in high-ambient light, making the kit suitable for preliminary outdoor or automotive visibility testing.
What if my final product requires a different screen size or interface?
The kit’s purpose is development and validation, not necessarily being the final component. By prototyping with a standardized kit, you prove your core software and UI logic on a reliable platform. Once validated, you can confidently port the software to your custom-sized display, as the low-level driver work is already complete and stable.
How do I handle firmware updates for the display controller?
Reputable kit suppliers provide firmware tools and update procedures. The controller board may have a USB port for firmware updates or a serial programming header. It is good practice to check for updates periodically and maintain a version log, as updates can improve compatibility or add features like new input resolutions.
Is a touch screen necessary for a basic lab kit?
While not strictly necessary, capacitive touch is highly recommended. Modern user interfaces are predominantly touch-based, and developing without touch input means you are missing a critical dimension of interaction testing. A kit with integrated PCAP touch allows you to develop and debug touch gestures, calibration, and usability from the very beginning.
Implementing a standard LCD kit is a strategic upgrade for any engineering lab focused on efficiency and quality. The key takeaways are clear: such a kit consolidates tools, accelerates prototyping, reduces integration risk, and fosters team collaboration through a common hardware platform. The actionable advice is to start small with a pilot, choose a kit based on versatility and industrial robustness over consumer-grade specs, and treat it as fundamental capital equipment. By doing so, you transform a variable component into a constant, reliable tool, freeing your team to innovate on the application layer rather than struggle with display compatibility. This investment ultimately streamlines the path from concept to functional prototype, ensuring your engineering resources are spent on creating unique value, not solving recurring hardware interface puzzles.
Post Search
Related Articles
-
Capacitive vs Resistive Touch Screen Car Stereo: Which Is Right for You?
-
TN LCD vs IPS LCD: How to Choose the Right Display for You
-
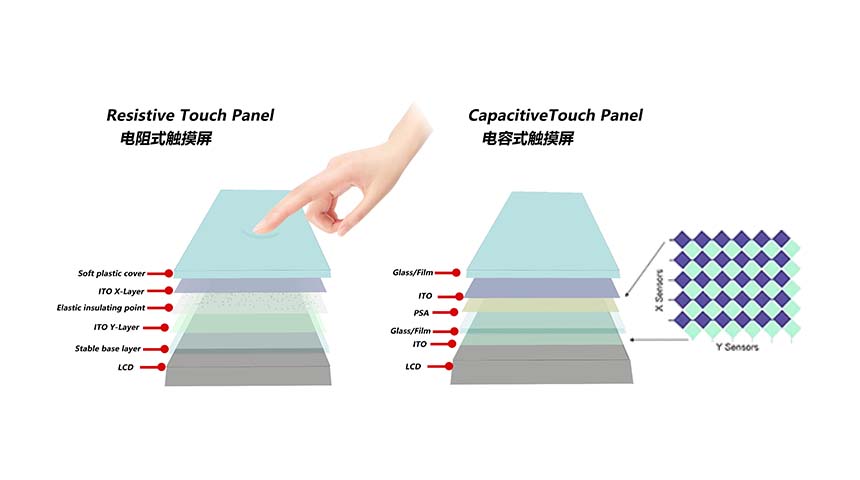
Capacitive Touch Panel or Resistive: Which Suits Your Needs?
-
Why Choose an IPS LCD Panel for Your Next Screen Purchase?
-
CDTECH to Showcase Cutting-Edge Display Solutions at SID 2025
-
Comparing Different Types of Displays in Cars: A Detailed Overview
-

White Spots on LCD Screen: Causes, Fixes & Industrial Solutions (2026 Guide)